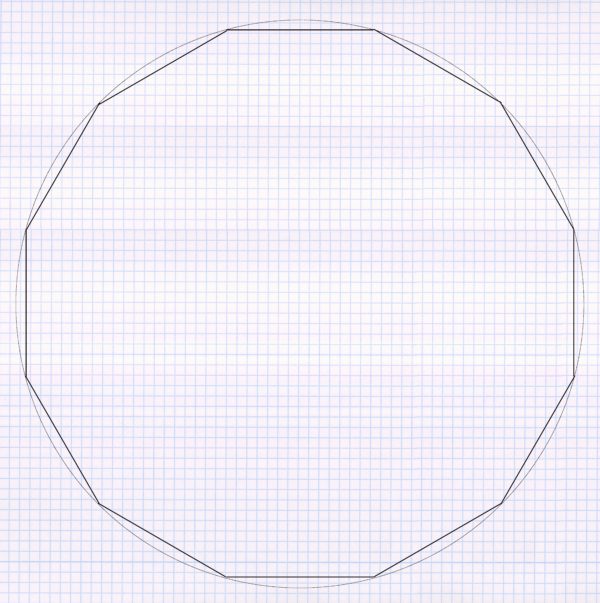
A particularly tricky special case is the watering of a circular area. For example, since a circle tapers inward, using the square pattern here would work poorly. The triangular pattern is the suitable alternative for circular areas, since a circle can be divided into numerous triangles. This can be compared to a cake that can be divided into triangular pieces of cake. Following is a step-by-step guide on how to use the triangular pattern in a circular area.
As a first step, a large number of straight lines in the length of the sprinkling radius are set on the inside of the circular curve, i.e. straight lines are made from the curve:
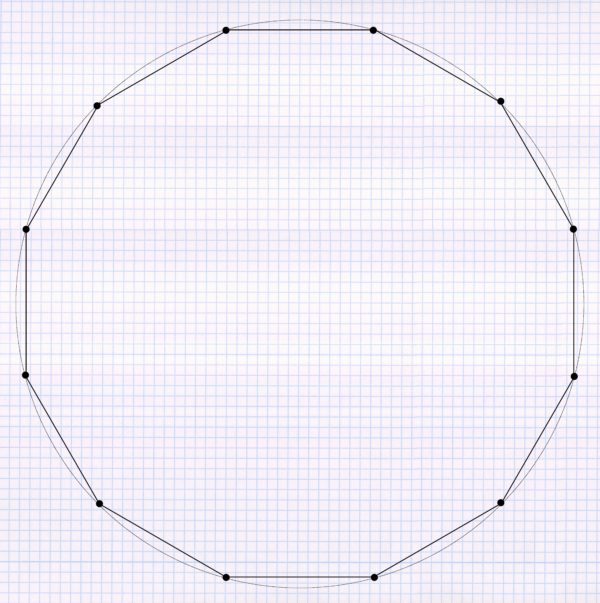
A sprinkler is now placed at each of the corner points:
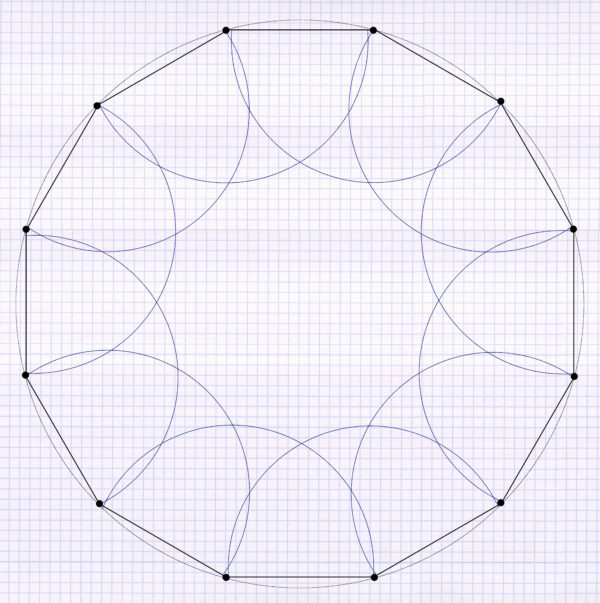
And for each of the sprinklers, now draw in the sprinkled area:
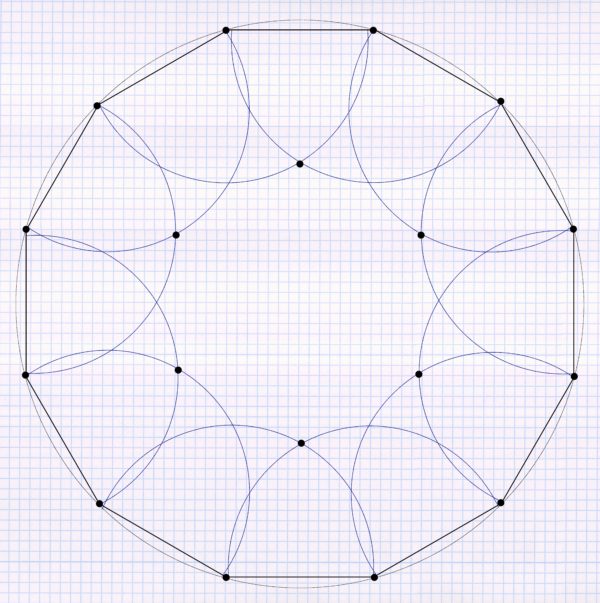
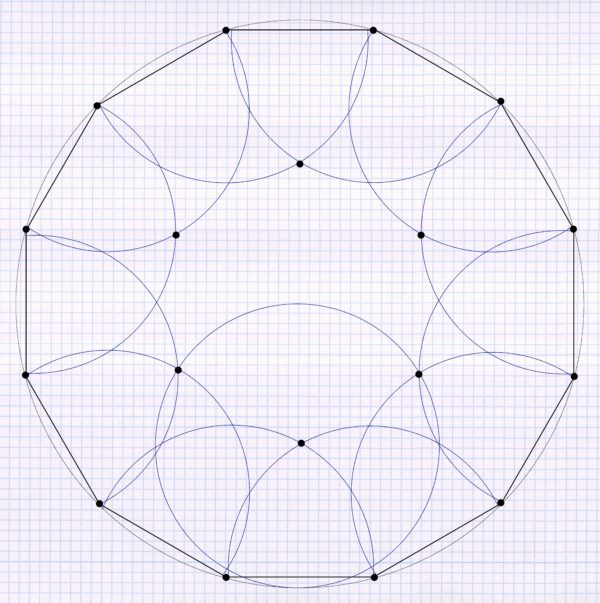
Now you put the third sprinkler to each triangular pattern. However, because the circle tapers inward only at every second triangle:
Full circle sprinkling areas are now drawn in for these sprinklers. If you do this for the first sprinkler, it looks like this:
After repeating it for the five other sprinklers, the following pattern emerges:
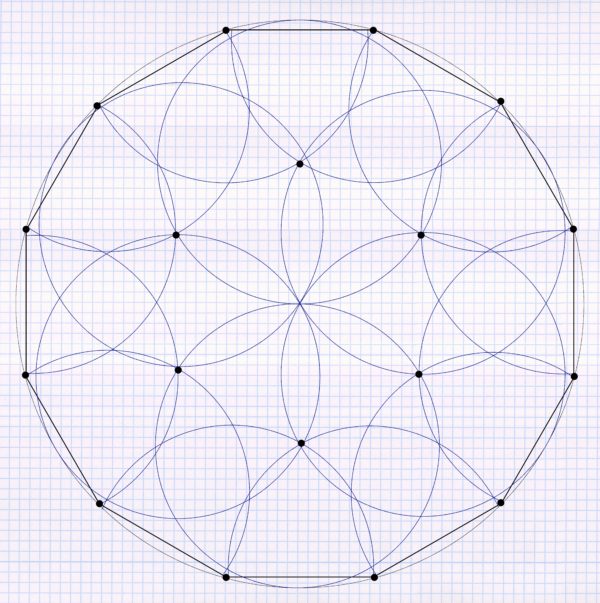
Now all that is missing is a full-circle sprinkler in the middle and the circular sprinkling area is properly irrigated using a triangular pattern:
In order for this to work out as well as shown in the example, the radius of the irrigation circle must be half the radius of the entire circle area to be irrigated. If this is not exactly the case, you will have a little more or a little less overlap than shown. A lack of overlap can be compensated for by using an additional sprinkler in the affected areas.
I am an enthusiastic do-it-yourselfer and have been running this blog on the subject of garden irrigation for more than 6 years now. In over 150 specialist articles, I share my own experiences and know-how from years of research and numerous product tests. -> More about me