
Drainage valves are used to protect the irrigation system from frost. The following article explains how this works, what advantages and disadvantages it has and what alternatives there are.
Depending on the climate at the irrigation site, it may be necessary to winterize the irrigation system before the cold season begins. This means making sure that there is no more water in the pipeline and the built-in parts connected to it. Because this would freeze at minus degrees. When water turns to ice, the volume increases by approximately 1/11 and this can rupture the pipeline or fittings that contain water. This danger can be avoided by blowing out the system with compressed air before the start of winter, or by installing a drainage system in the system.
Both methods have their advantages and disadvantages: When installing a fixed drainage system, you no longer need to think about drainage during operation, as it happens automatically. In return, the drainage in the installation means (small) additional costs. And some water is wasted unnecessarily as the drain valve drains after each irrigation run is complete (more on this and other potential downsides in the section “possible disadvantages of using a drain valve” below). If you opt for manual drainage with compressed air, a certain amount of time is required to carry out the blowing out once a year. And costs for the purchase of a necessary compressor.
A third possible variant is a permanently installed, manually operated drainage using a ball valve, I present this option at the very end of the article.
How does a drain valve work?
The drain valve is in the open state by default. The water that runs in at the top and comes out again at the bottom. A locking mechanism is attached to the top of the valve. If slight pressure is applied to it, it closes and no longer lets water through. This can be seen in the video clip below, in which the mechanism is closed with a light tap of a finger.
A certain water pressure in the line is therefore required to close the valve. With the Gardena drain valve, this is 3 psi, with drain valves from other manufacturers, the values should be very similar. So if the pressure in the line is more than 3 psi, it stays dry. Once watering stops and the pressure drops below 3 psi, the valve will allow the water to escape. The following video shows this connection using a temporarily installed drain valve.
How do you install a drain valve?
The drain valve is installed in the pipeline at the lowest point of the pipeline. Either this point occurs automatically due to a natural slope of the area to be irrigated, or this deepest point has to be created artificially by making the pipeline trench deeper at this point so that there is a gentle slope towards the drain valve.
Note: On a hillside, the elevation gain must not exceed 6.5 feet. If it is greater, then a drain valve must be installed in the pipeline for every 6.5 feet of elevation difference!
If the irrigation system consists of several sectors, a drain valve must be provided in each sector. Similar to a sprinkler, the drain valve is installed in the pipeline using a connector. Depending on the manufacturer, the drain valves have a 1/2 inch or 3/4 inch thread. The Gardena drain valve has a 1/2 inch thread and a reducer from 3/4 inch to 1/2 inch is also included.
Below are step-by-step instructions for installation using the example of the Gardena drain valve:
The Gardena valve comes with 3 items:
- The valve
- An adapter piece to reduce a 3/4 inch thread to 1/2 inch
- A protective hood
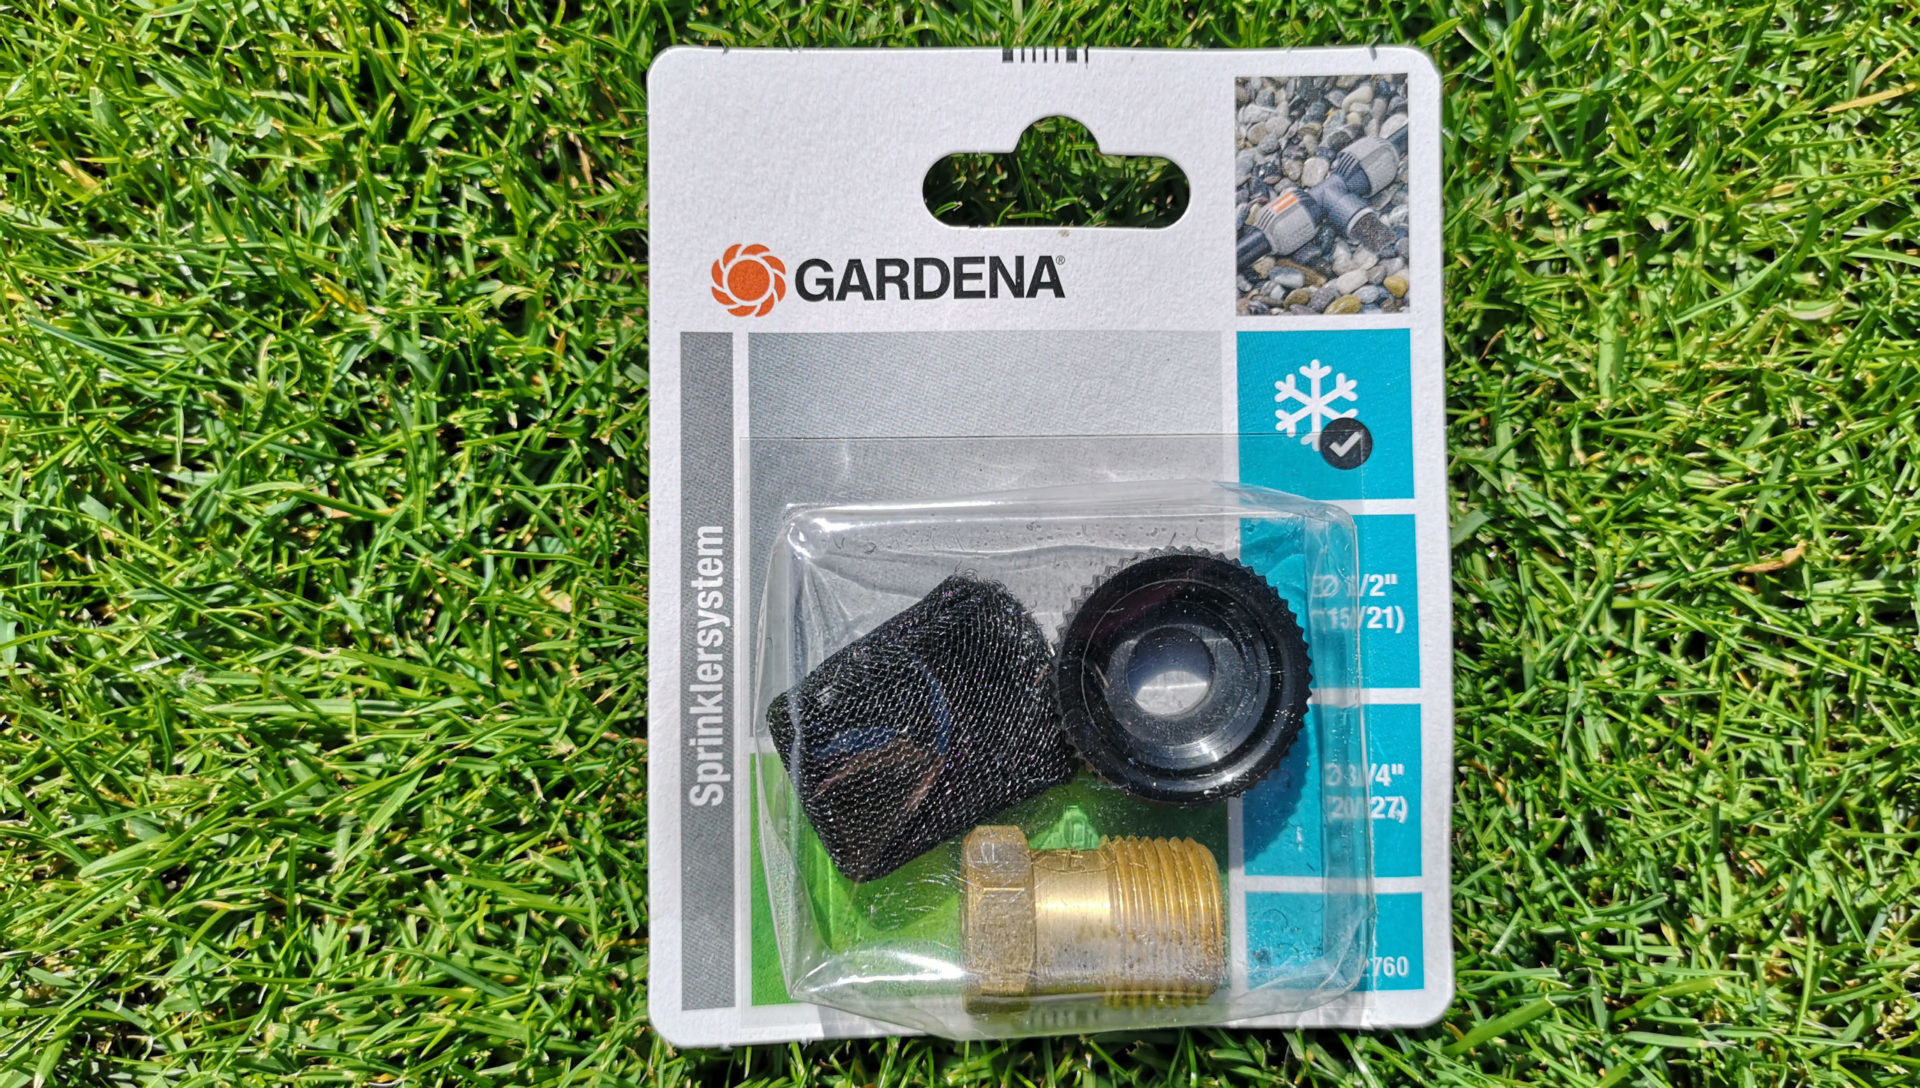
Gardena valve, thread adapter and protective hood in original packaging
The 3 components are assembled as shown below. Don’t forget to thread Teflon tape!
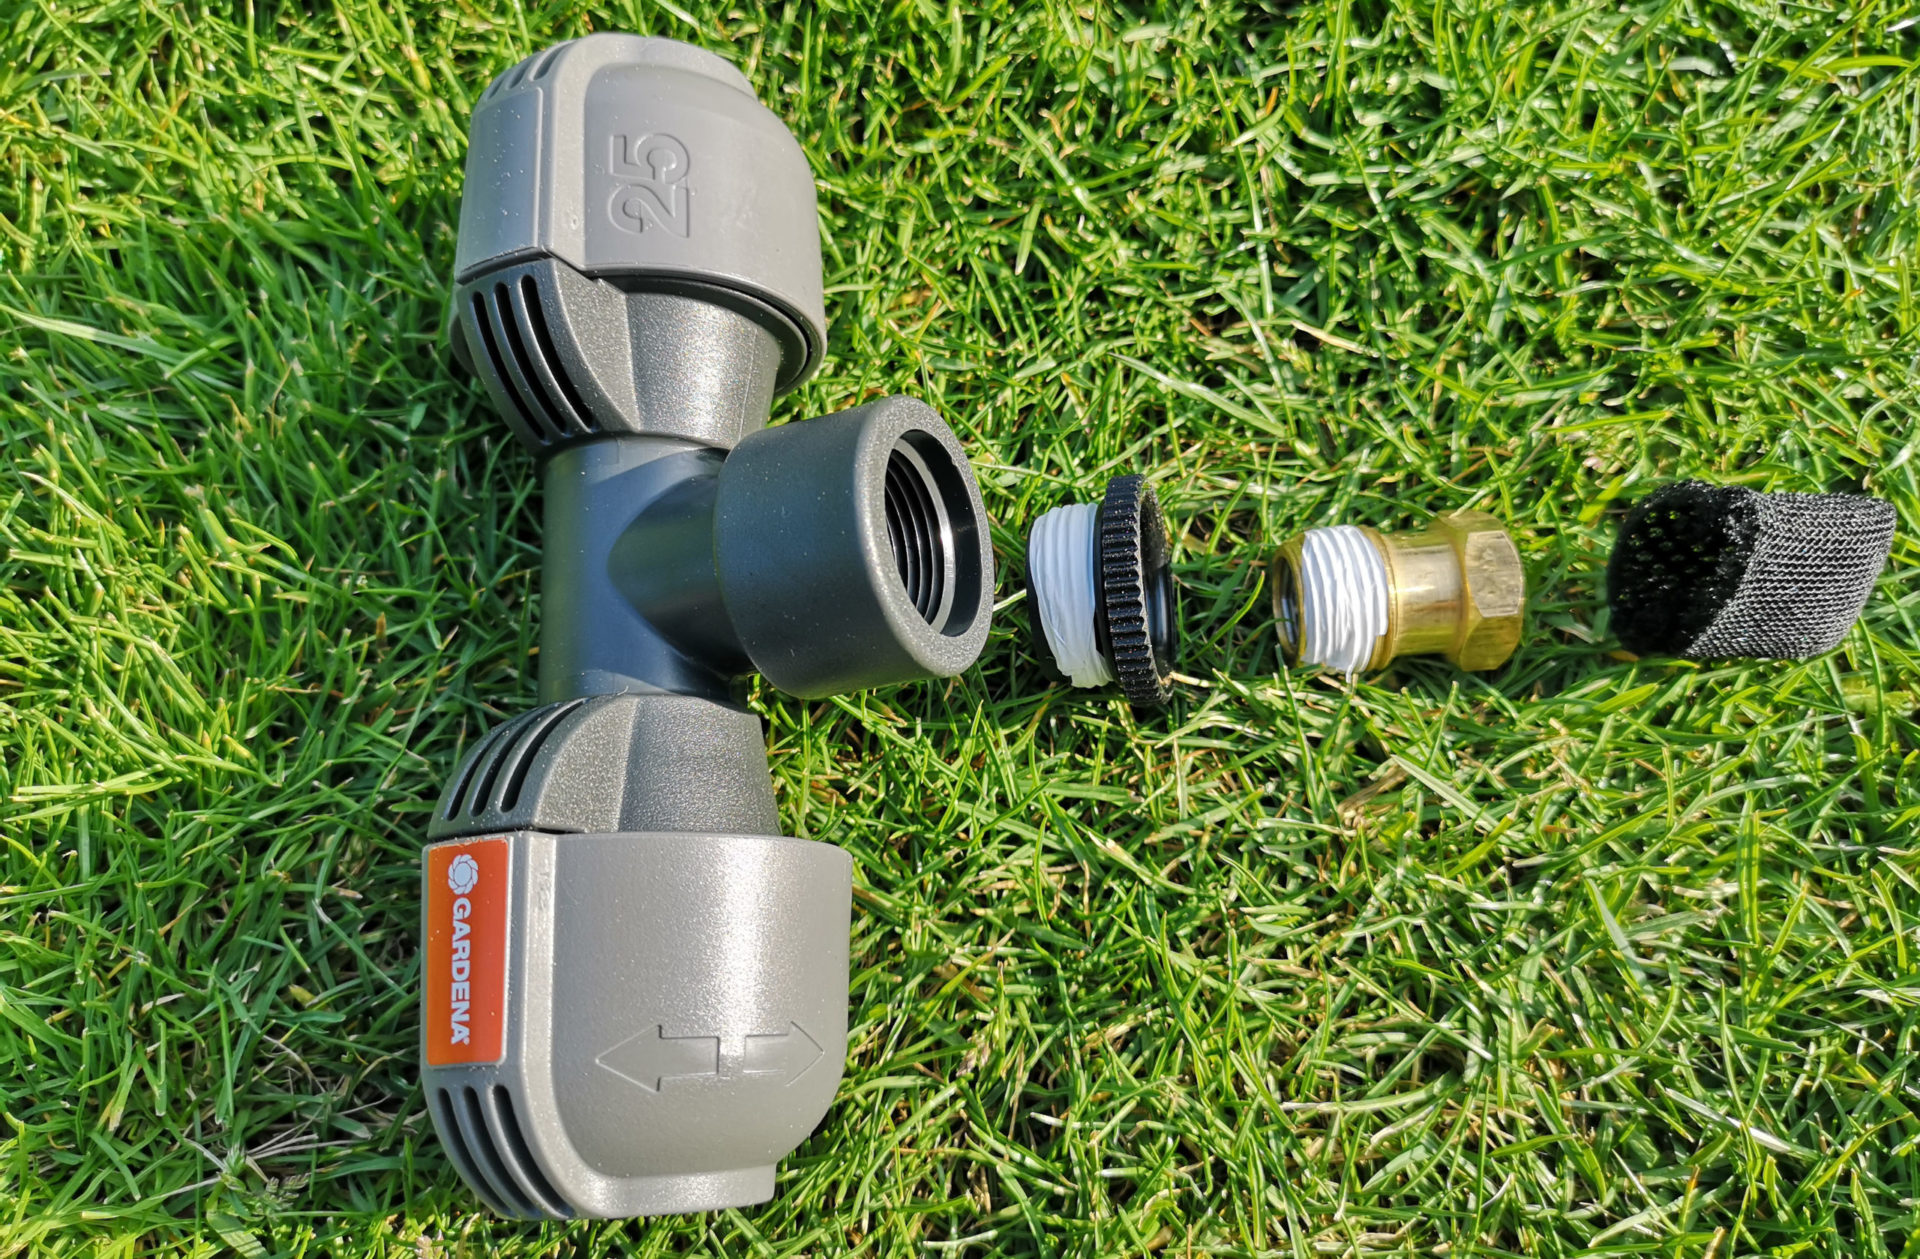
This is how the drainage valve is mounted in a 3/4 inch Gardena connector
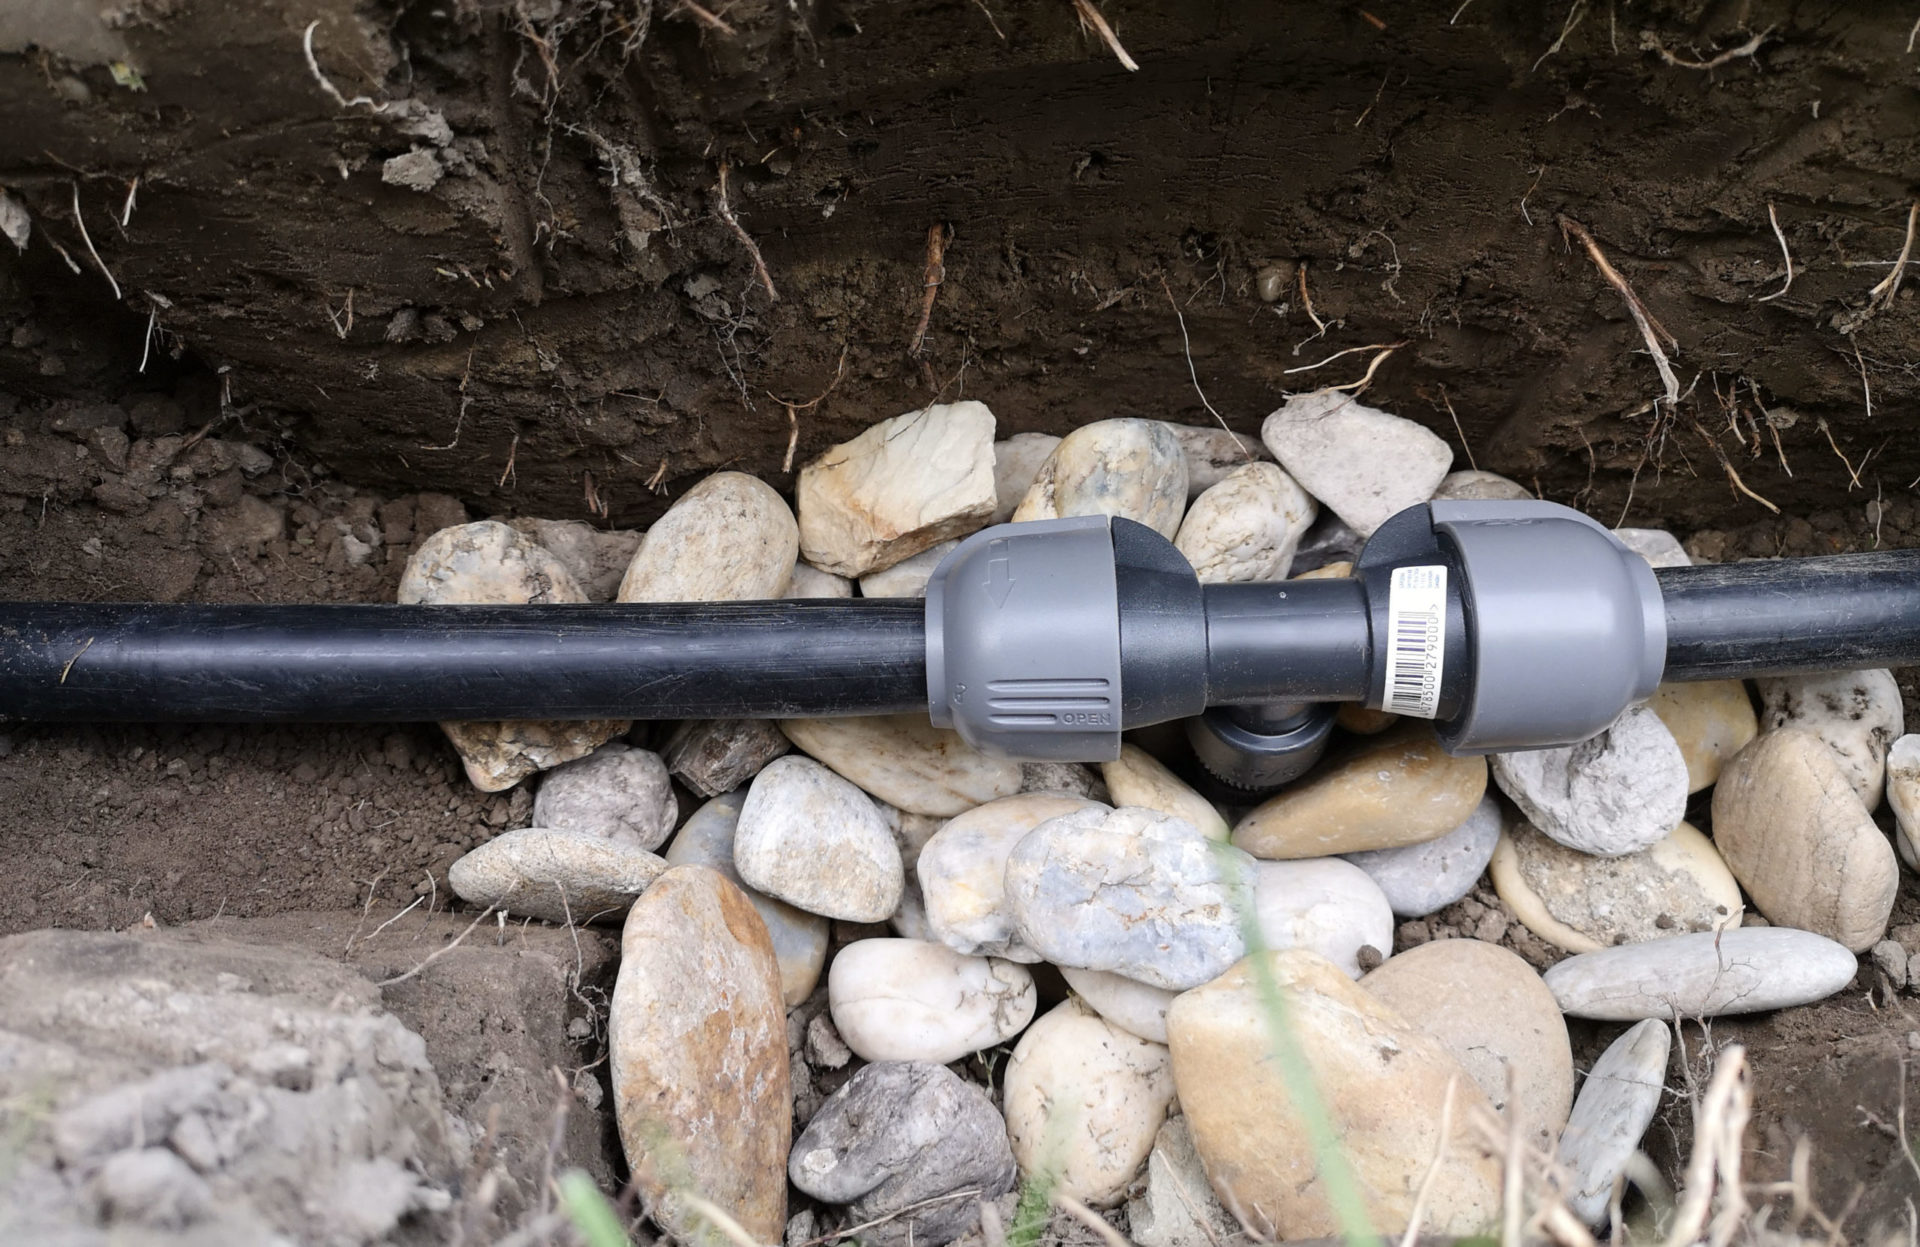
The outlet opening of the drain valve is oriented either downwards or sideways on the pipeline:
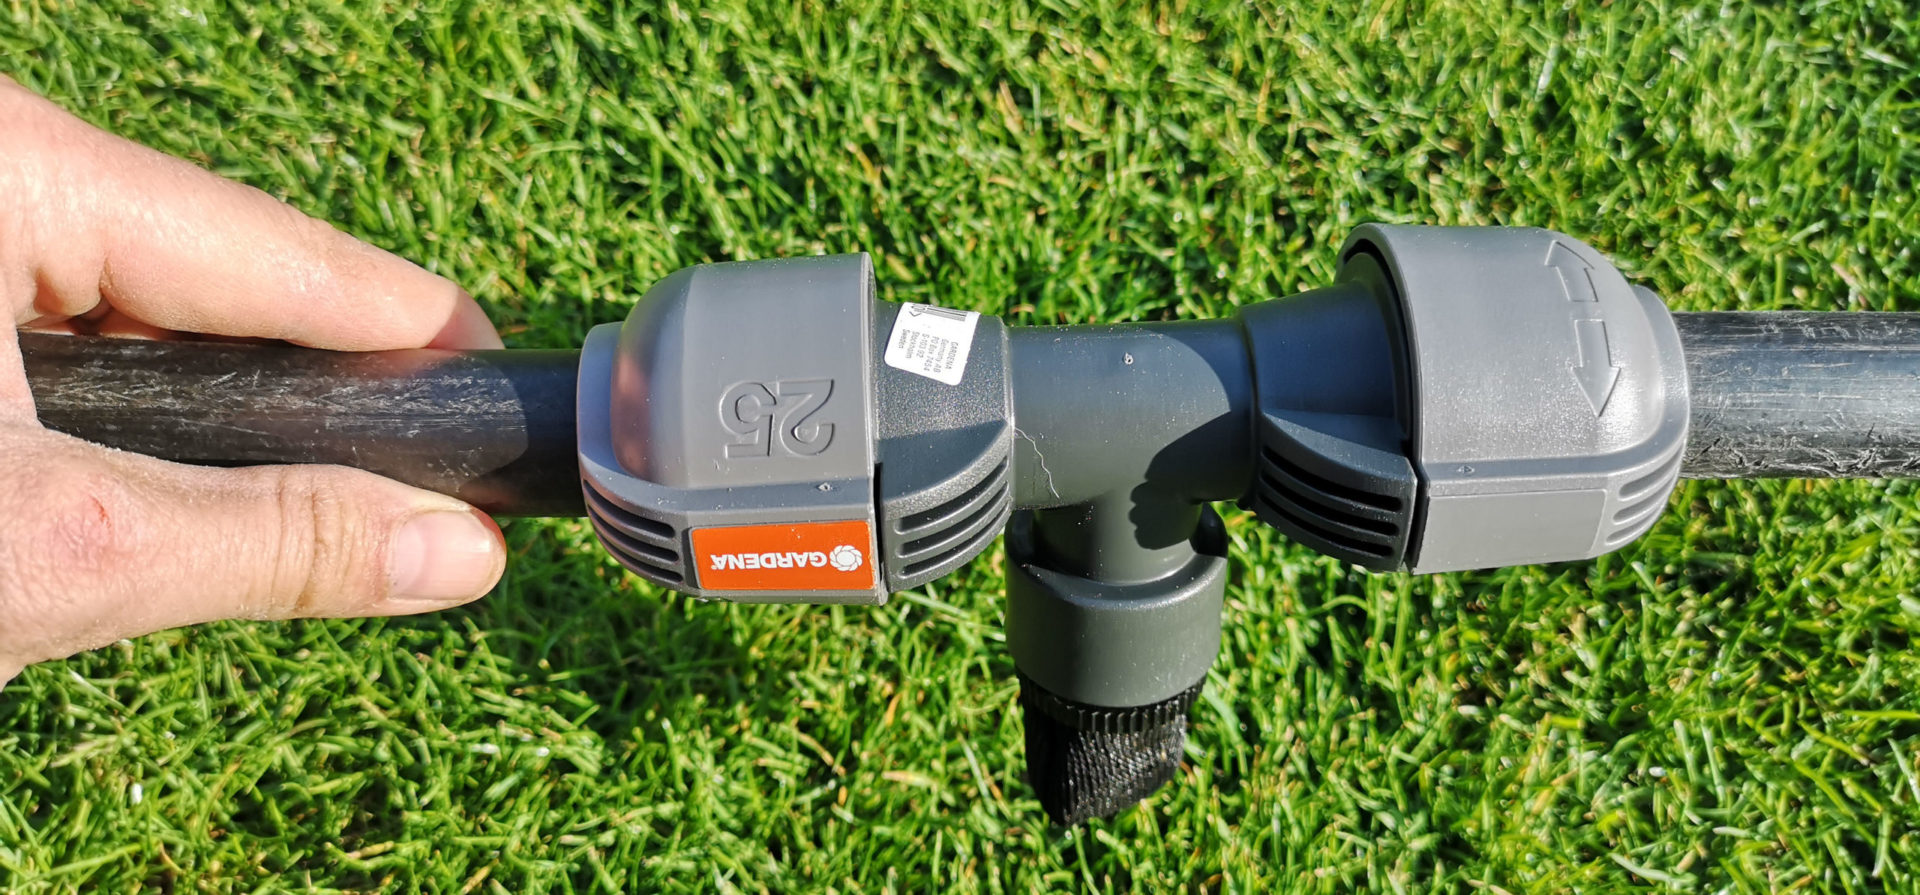
Assembled drain valve oriented downwards on the pipeline pipes
The drain valve is installed in the trench surrounded by coarse, washed gravel. This serves as a drainage system, which allows the water that has been released to drain quickly downwards. It also protects the valve from contamination by earth particles. Roughly a cube of gravel 8 to 12 inches high, long, and wide is recommended. The gravel should be at least 0.3 inches in diameter. At the point in the trench where the drainage valve is installed, apart from the fact that this has to be the deepest point of the pipeline, another piece in an approximately square shape has to be dug down. A height of 4 to 5 inches should be about right, then the rest of the 8 inches goes on top of that.
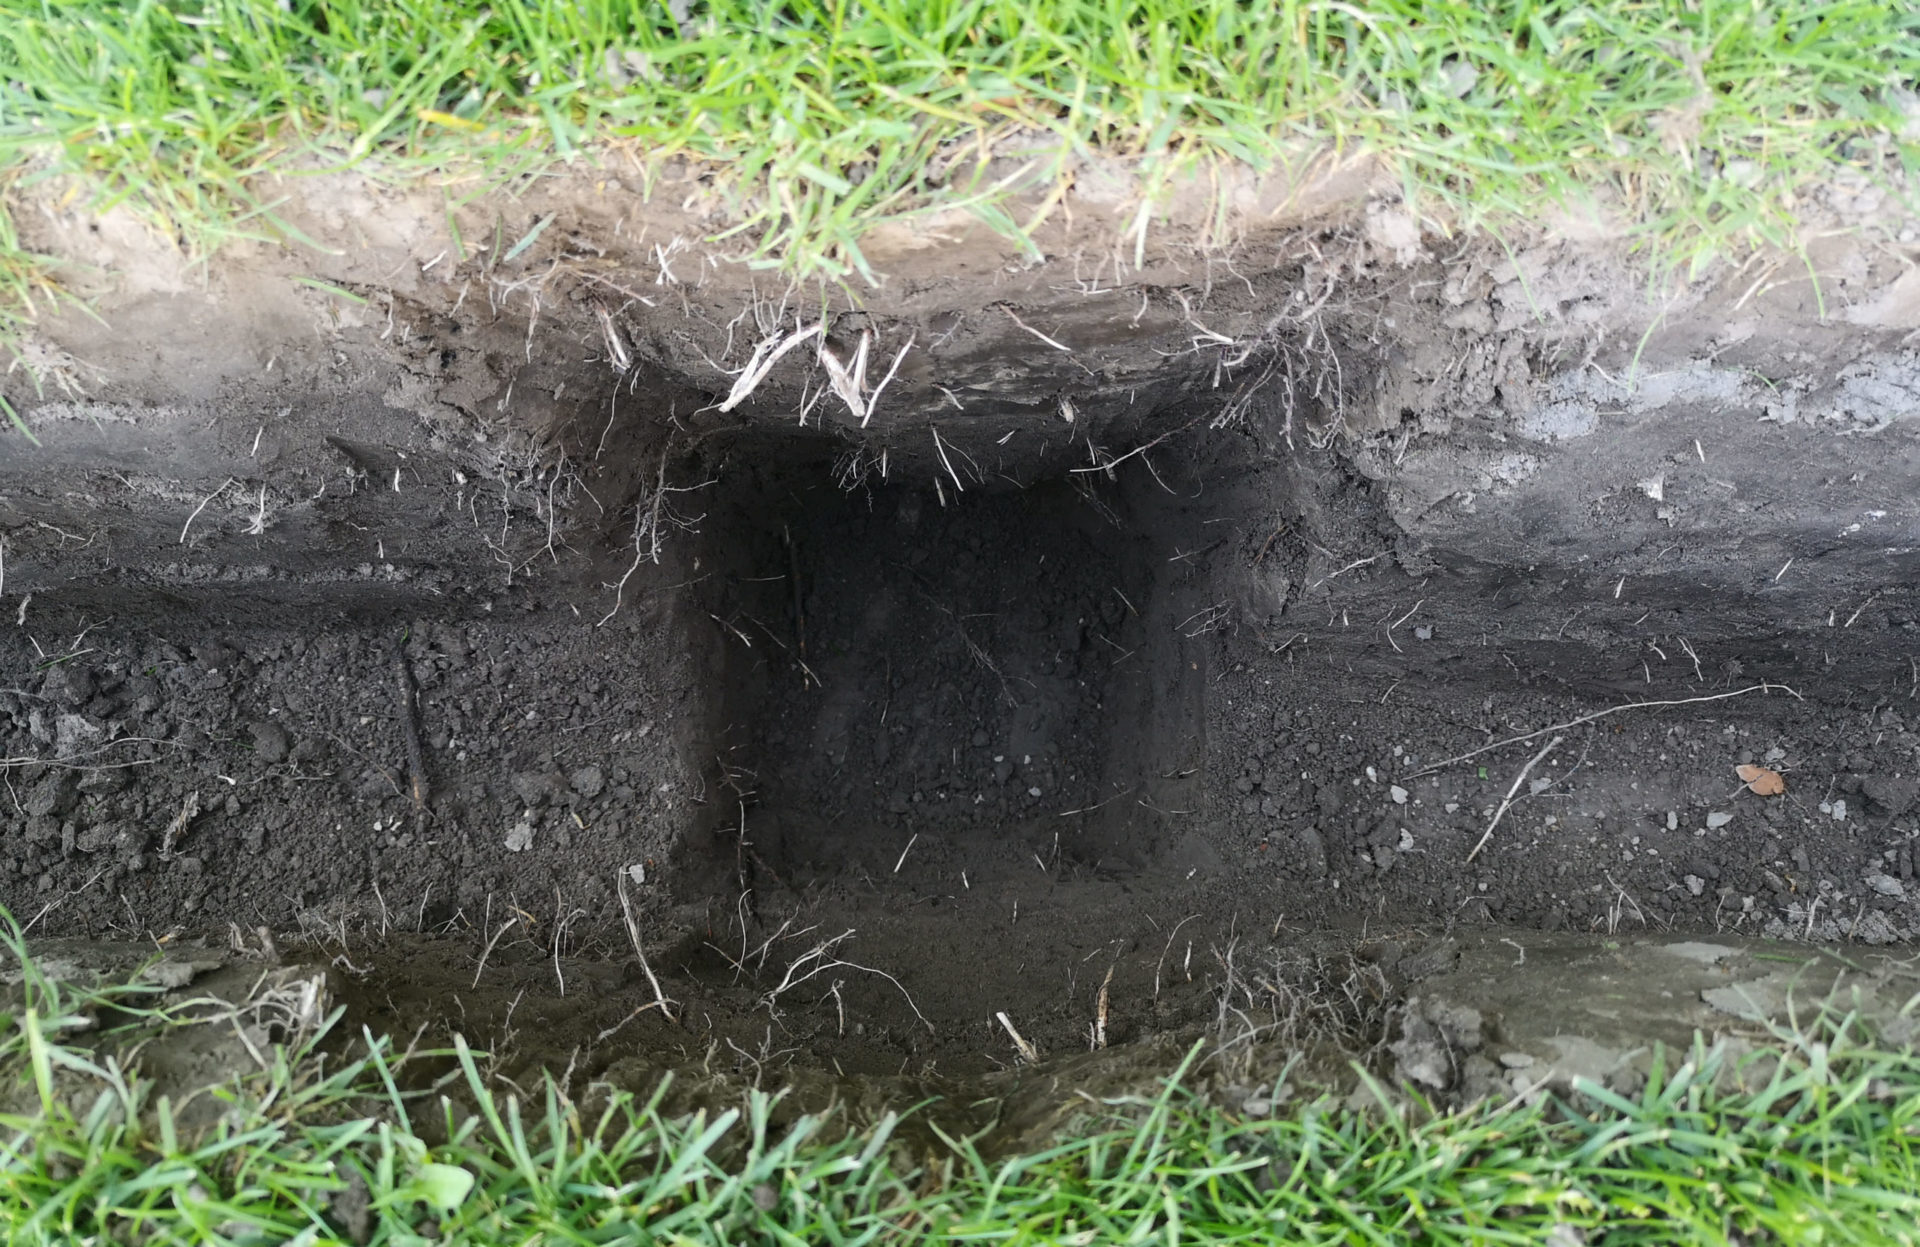
Outlet for gravel packing prepared in the trench
Here the gravel is now filled in and the pipeline including the drainage valve is inserted. Optionally, the gravel pack can also be wrapped with filter or drainage fleece to protect it even better against the ingress of dirt. Before the next step, you should now do a function test to make sure that the drain valve is working correctly. So turn on the water supply, then turn it off again and check that the water runs out of the drainage valve.
Drain valve inlaid in gravel pack
Finally, the rest of the gravel is poured over the drain valve. It is best to place temporary supports to the left and right of the gravel so that the gravel does not spread too far and the heaping up is as cube-shaped as possible.
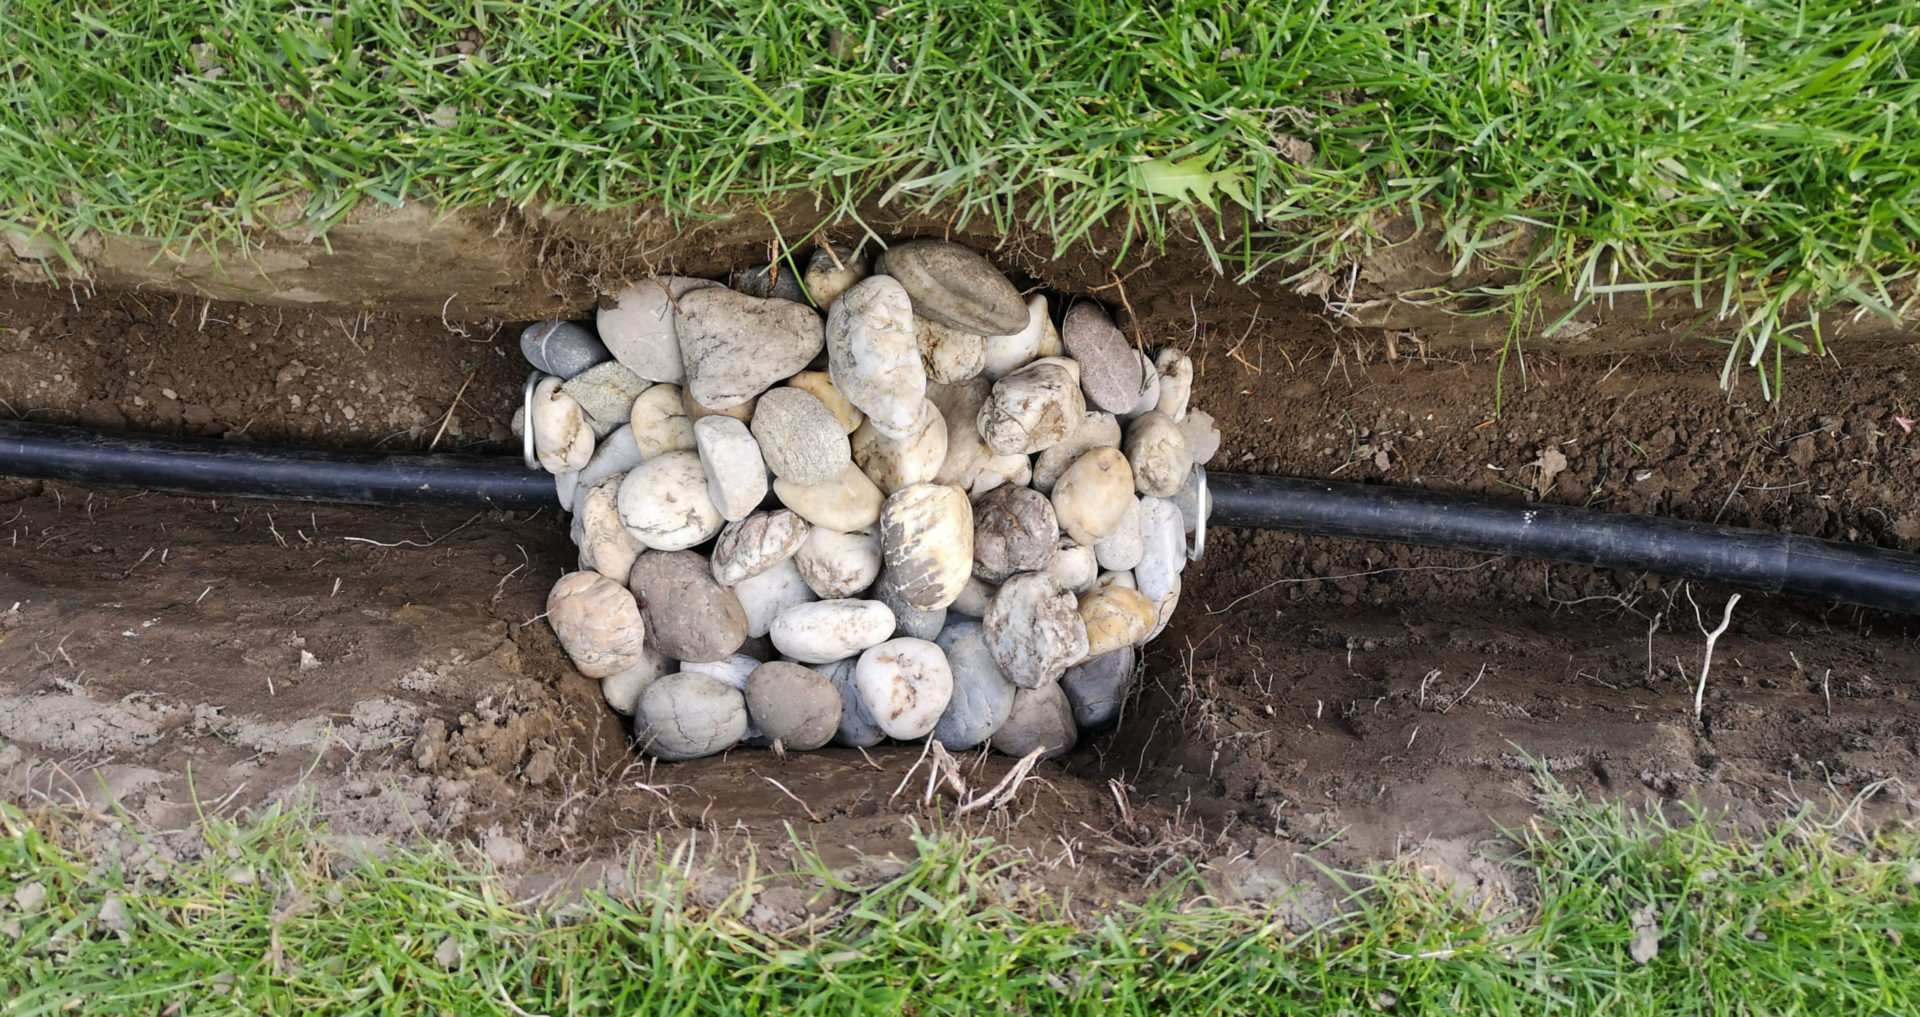
Drain valve surrounded by gravel on all sides (to keep the gravel in place, two ground anchors are hammered in on the left and right)
If several pipeline strands are running in parallel in the trench, it makes sense to install the drain valves for all of them in the same place. In this case, the gravel box may need to be made slightly larger.
Possible disadvantages of using a drain valve
The use of a drain valve can potentially have the following disadvantages:
- Waste of water
As described above, the valve opens whenever the water pressure is lost. Thus, each cessation of irrigation results in a complete emptying of the pipeline. If several sectors are run through one after the other, this applies to each of the sectors. With the usual 3/4 inch PE pipe, around 0.03 gallons of water are lost for every foot of pipeline laid. For example, if the pipeline length is 120 feet, that would be 3.6 gallons of water. That doesn’t compare dramatically to the amount of water spilled, which can be 300 gallons or more in one irrigation run. But over a watering season, of course, that adds up. And the effect is greater, the more often you water: If the lawn is only watered once a week, then it is only emptied once a week, if you water it 3 times a day, then it is automatically emptied 3 times a day .
- Risk of damage/no longer functioning properly
The drain valve can become defective over time. The reason for this can be interference from ingrown roots, or contamination from fine particles. This can mean that the water is no longer drained properly, or that the valve is no longer absolutely tight during irrigation and water runs off. This then leads to a loss of pressure, so that less pressure is available during irrigation. This potential danger is the more relevant the more inaccessible the drain valve is installed. If you have buried it deep in the ground, you will firstly not notice the problem immediately and secondly, you will have to completely dig up the valve to fix it.
If you cannot or do not want to live with this potential hazard, then using a manual drain valve in a valve box is a possible alternative. In this way you don’t have the disadvantage of wasting water additionally. More on this option at the end of the report.
Drain valves offered on the market
The selection of drain valves is manageable. There is the Gardena drain valve described in the text above. Hunter does not have a drain valve in its range, Rain Bird has the Rain Bird SLS 16a, Toro the Toro 53740, Orbit the drain valves 51240 and 51241. Both the Rain Bird and the Toro, Orbit and Gardena valve are available on Amazon with a good rating of 4 or 4.5 out of 5 points, some also include a root barrier.
At Amazon you can also find some no-name drain valves as an additional alternative, the quality of which I cannot say anything about.
Drain valves at Amazon:
Auto Amazon Links: No products found.
Alternative: Manual drainage with ball valve
The ball valve is installed at the lowest point of the pipeline – just like the automatic drain valve – and a ball valve is also required for each irrigation line. The easiest way to install the ball valve is on a connector with a 3/4 inch internal thread, i.e. on the same connector that is also used to connect the automatic drain valve.
Auto Amazon Links: No products found.
The ball valve must be lined with gravel exactly as described above so that the water can drain off well. It is installed in a valve box, i.e. a box like the one used for solenoid valves.
The valve box is buried in the ground and can be accessed from above using a stable cover. When it is time for winter storage, the ball valve is simply opened manually and the water flows out. There are two advantages compared to the automatic drain valve:
- The ball valve is freely accessible, can be checked at any time and easily replaced in the event of a defect
- Since it is only drained once a year, no water is wasted
As an alternative, installation in a valve box would of course also be possible for an automatic drain valve.
Conclusion and recommendation
If you want a solution that works automatically without any further action, then the automatic drain valve is the right choice. However, it cannot be ruled out that this will have to be dug up and replaced again after a few years. If you build it in a valve box instead, you can keep an eye on the proper function and restore it very easily if the worst comes to the worst.
If you want to make it even better, you can install a manual ball valve in the valve box instead of the drain valve. This has the added benefit of not wasting water. If you don’t want to deal with the topic at all during planning and assembly, then annual blowing out with a compressed air compressor is the method of choice.


