In an existing irrigation system, it may be necessary to temporarily or permanently deactivate a sprinkler, or even remove it from the system entirely. Here’s how it works and what to look out for.
Even if you’ve planned everything perfectly, redesigning your garden may require adapting an existing irrigation sector and relocating sprinklers to other locations or deactivating them. The best way to proceed depends primarily on whether the change is permanent or temporary. There are basically two options:
- Remove the sprinkler completely from the pipeline
- Leave the sprinkler in the pipeline, but ensure it no longer releases water
If the deactivation has a limited expiration date and the sprinkler is to be used as usual afterward, the second option is recommended, for example, if you set up a sandbox for your children in the garden for a few years, but already know that it will disappear again afterward. Or, for example, if a renovation involves temporarily dedicating a section of the garden to storage and not watering it. However, if the renovation is permanent and renders the sprinkler obsolete, it should be removed completely.
Turning off sprinklers
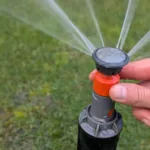
On the one hand, there are sprinklers and sprayers that have a shut-off function. This includes all Hunter and Rain Bird spray nozzles, whose water flow can be reduced to zero using the adjustment screw. This is also possible with the Gardena SD30 and SD80 pop-up sprayers. Hunter and Rain Bird also offer this option for their state-of-the-art Hunter I-20 and Rain Bird 5000 plus gear-driven sprinklers. Shutting off ensures that no water is released, but the sprinklers still rise. All older Hunter and Rain Bird gear-driven sprinklers and all other Gardena sprinklers do not have an integrated shut-off option.
With the Hunter MP Rotator, there are two options: For Pro-Spray, PRS30, and PRS40 bodies, there are special Hunter sealing caps that can be screwed on instead of the standard cap to seal the bodies at the top. Alternatively, you can screw a Hunter blind nozzle onto all bodies with a 5/8-inch external thread riser instead of standard nozzles. In this case, the nozzle still rises, unlike the previous version, but no longer releases water. These practical shut-off caps and blind nozzles are rarely available in stores. Without knowing exactly what you’re looking for, it’s difficult to find these products, so here are two direct Amazon links*:
- Amazon offer: Hunter Pro-Spray Cap
- Amazon offer: Hunter Blind Nozzle
Removing the sprinkler and closing the connector
If the sprinkler doesn’t offer any of the options listed above, or if you want to remove it permanently anyway, the easiest way is to remove it and seal the connector attached to the pipeline with a cap. To do this, proceed as follows:
The theoretically possible minimum is to unscrew the sprinkler from the top of the connector by twisting it and then pull it out of the ground. The connector thread is then exposed, and if you have very narrow hands and a lot of fingertip strength, you could theoretically unscrew the cap right away.
In practice, however, this doesn’t really work. On the one hand, there’s a very high risk of accidentally getting soil into the pipeline, and on the other hand, the narrow access makes it almost impossible to exert enough force to properly unscrew the cap, and you also don’t have the necessary space to wrap the thread with Teflon tape beforehand to seal it!
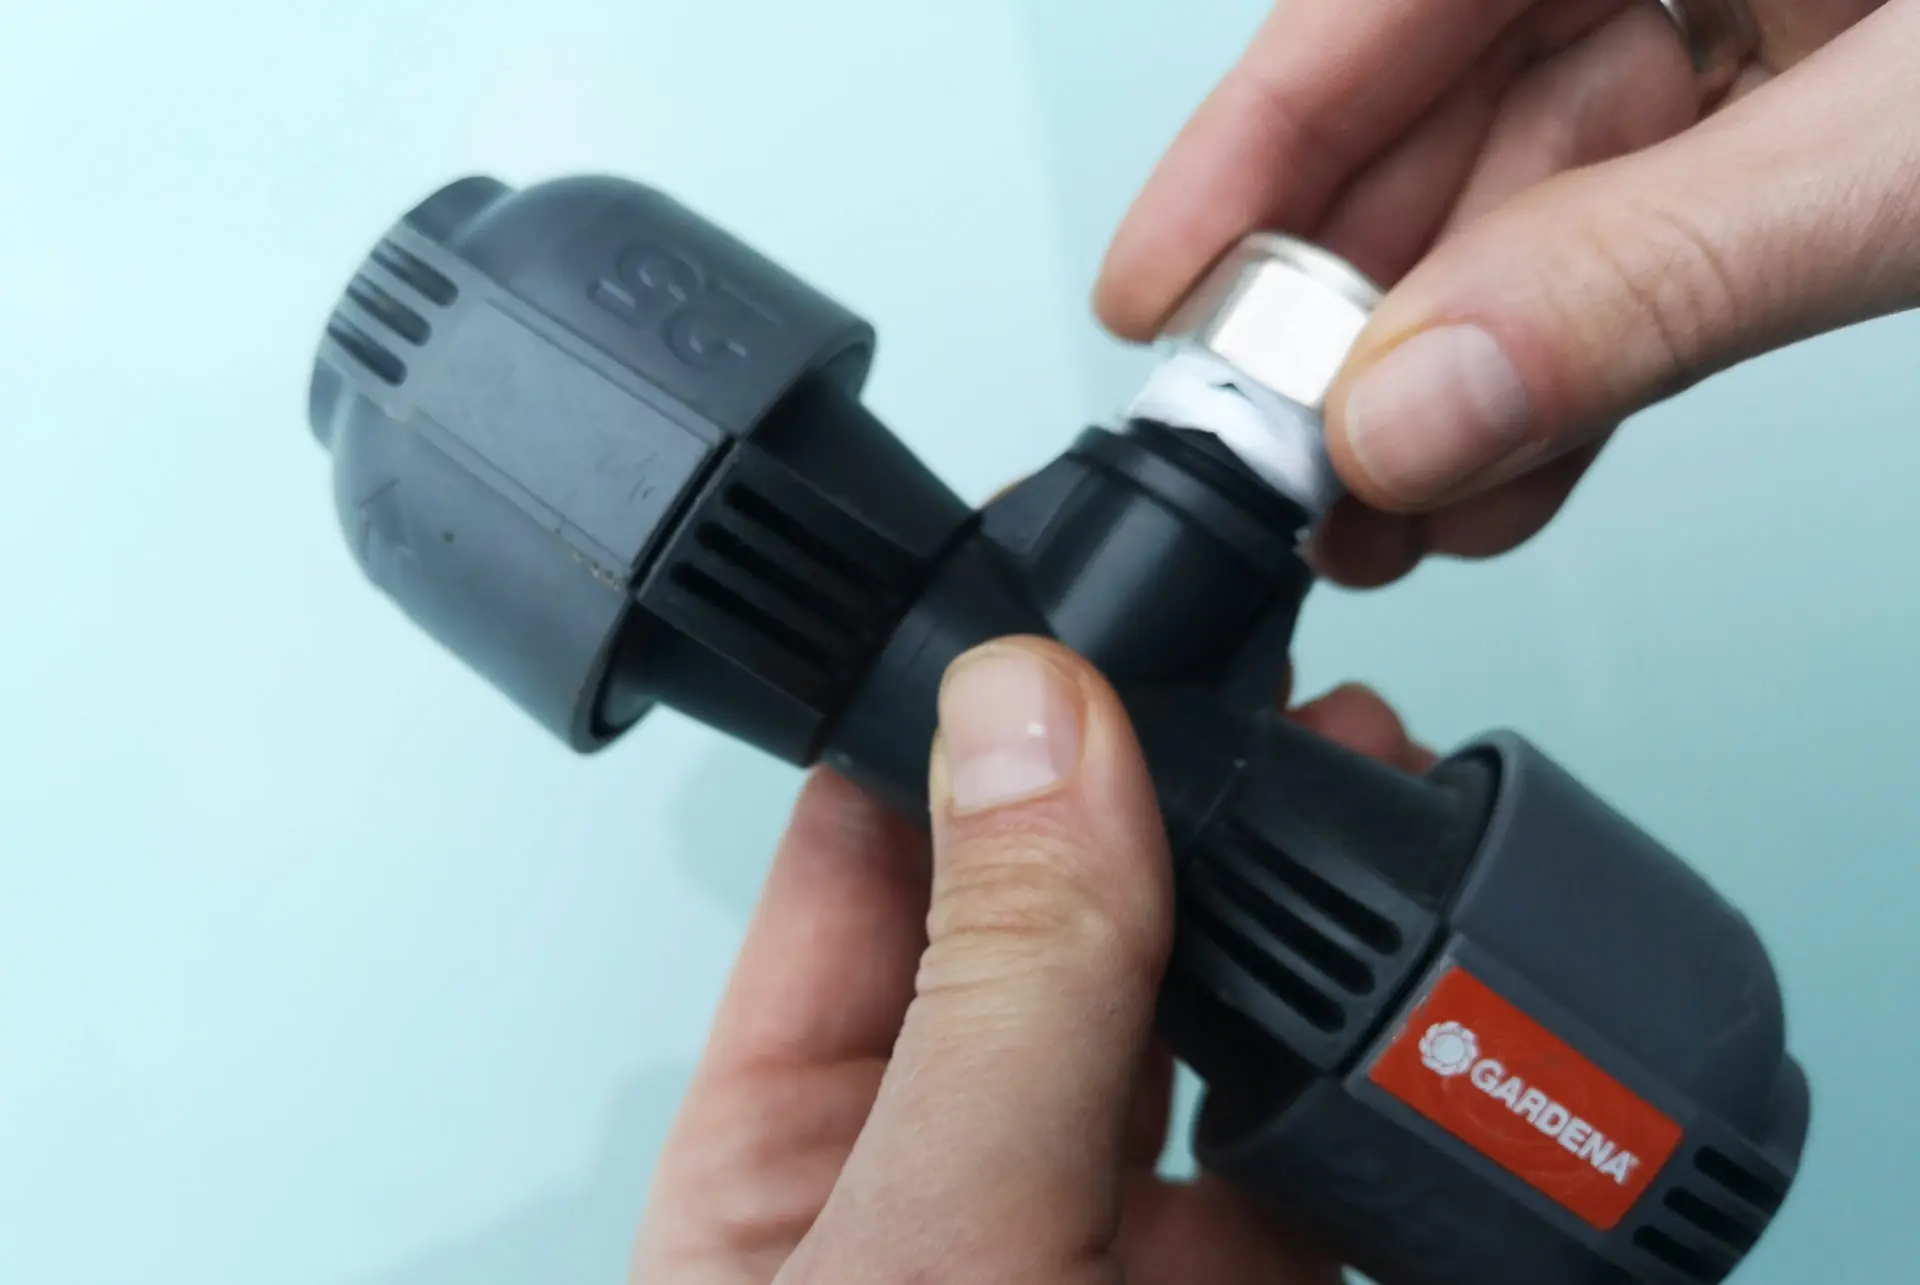
Therefore, you’ll have to invest a few extra minutes and dig a few centimeters around the sprinkler. This is done before unscrewing the sprinkler from the thread to prevent soil from falling into the pipeline during excavation work. Only after the connection point has been thoroughly exposed and cleaned should the sprinkler be unscrewed. If it was mounted on a swing joint, both the sprinkler and the swing joint are removed. Now carefully wrap Teflon tape around the thread of the connector and screw on the cap. It is sufficient to tighten it by hand; no tools are required. Then, pressurize the irrigation system and check that the cap is tight. If everything is correct, the hole can be filled again.
Step-by-step process in pictures:
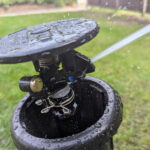
- Dig up sprinkler
- Unscrew the sprinkler and seal the thread
- Screw on the cap
- Fully sealed connector
Special case: When the sprinkler is the last one in the line
The procedure described should be omitted if the sprinkler to be removed is the last one in the line and the pipeline is blown out with compressed air before winter. In this case, this would create a dead end in the irrigation system, where the water would stagnate during the winter and could cause frost damage. Therefore, in such a case, the plug is installed at the sprinkler that was previously passed through in the line. This means the next one in the direction of the water source from the sprinkler to be removed. Immediately after this sprinkler, the pipeline pipe is cut off and an end cap or connector end piece is installed. The removed sprinkler then no longer needs to be plugged, as the upstream section of pipe no longer serves any function. Here, too, a leak test must be performed before filling the pipe.
Caps/Blank Plugs
Caps and blank plugs are available in plastic or metal and are available from irrigation companies such as Rain Bird or Gardena and a variety of other companies. Most sprinklers require caps with a 1/2-inch internal thread; larger sprinklers also require caps with a 3/4-inch internal thread. Some caps include an internal sealing ring, eliminating the need for additional sealing with Teflon tape.


