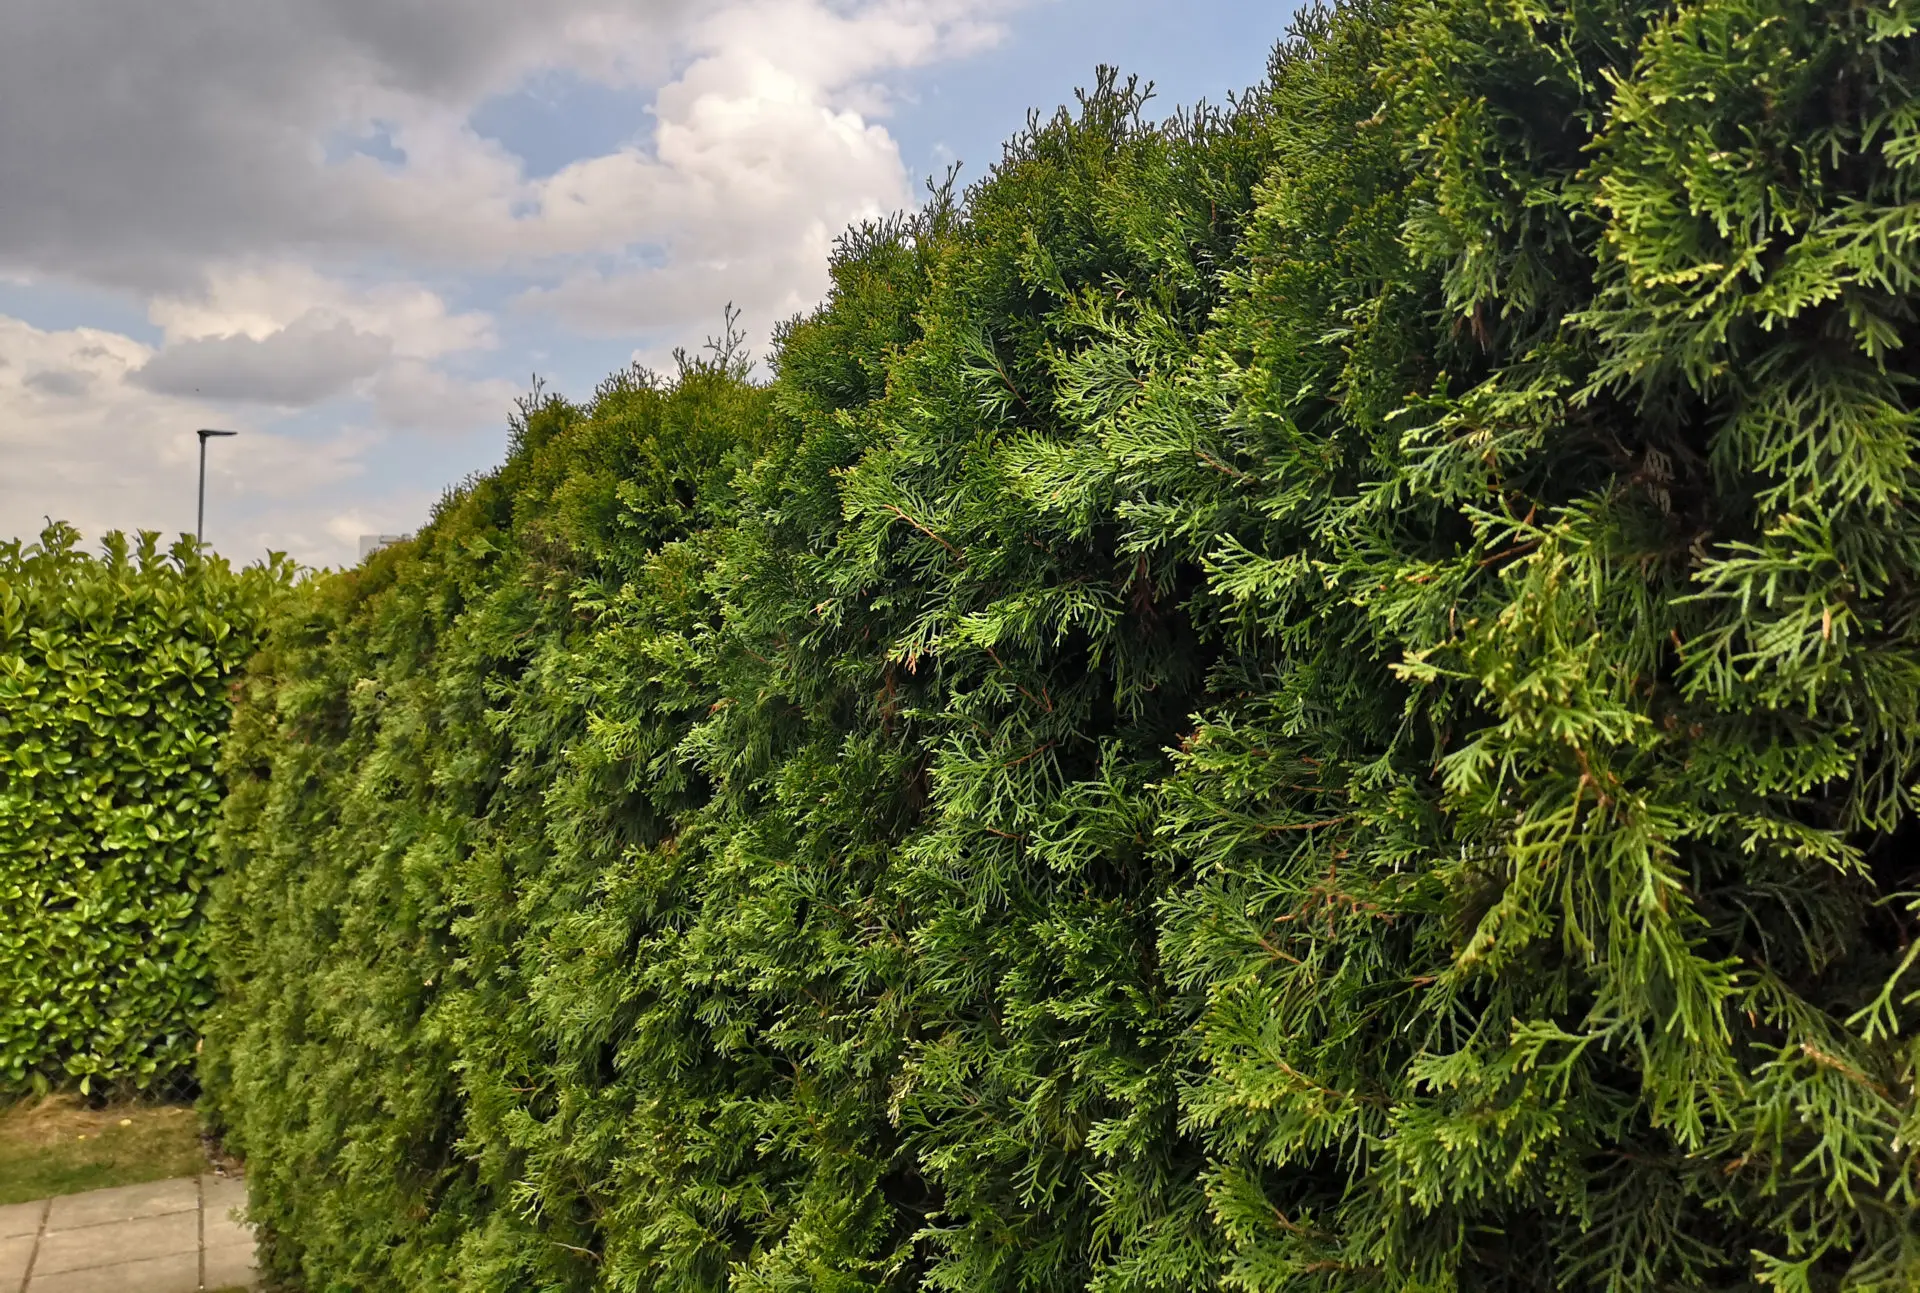
Watering a hedge has a few things in common with watering a lawn, but there are some differences to consider. Below is the most important information on hedge watering.
There are differences in terms of water requirements and the frequency of watering required between individual hedge plants, but in principle no hedge plant can survive without at least occasional watering. This is partly because hedges do not have roots as deep as, for example, fully grown large trees, which can supply themselves from groundwater. And on the other hand, climate change is making occasional watering increasingly necessary even for trees.
How do you water a hedge?
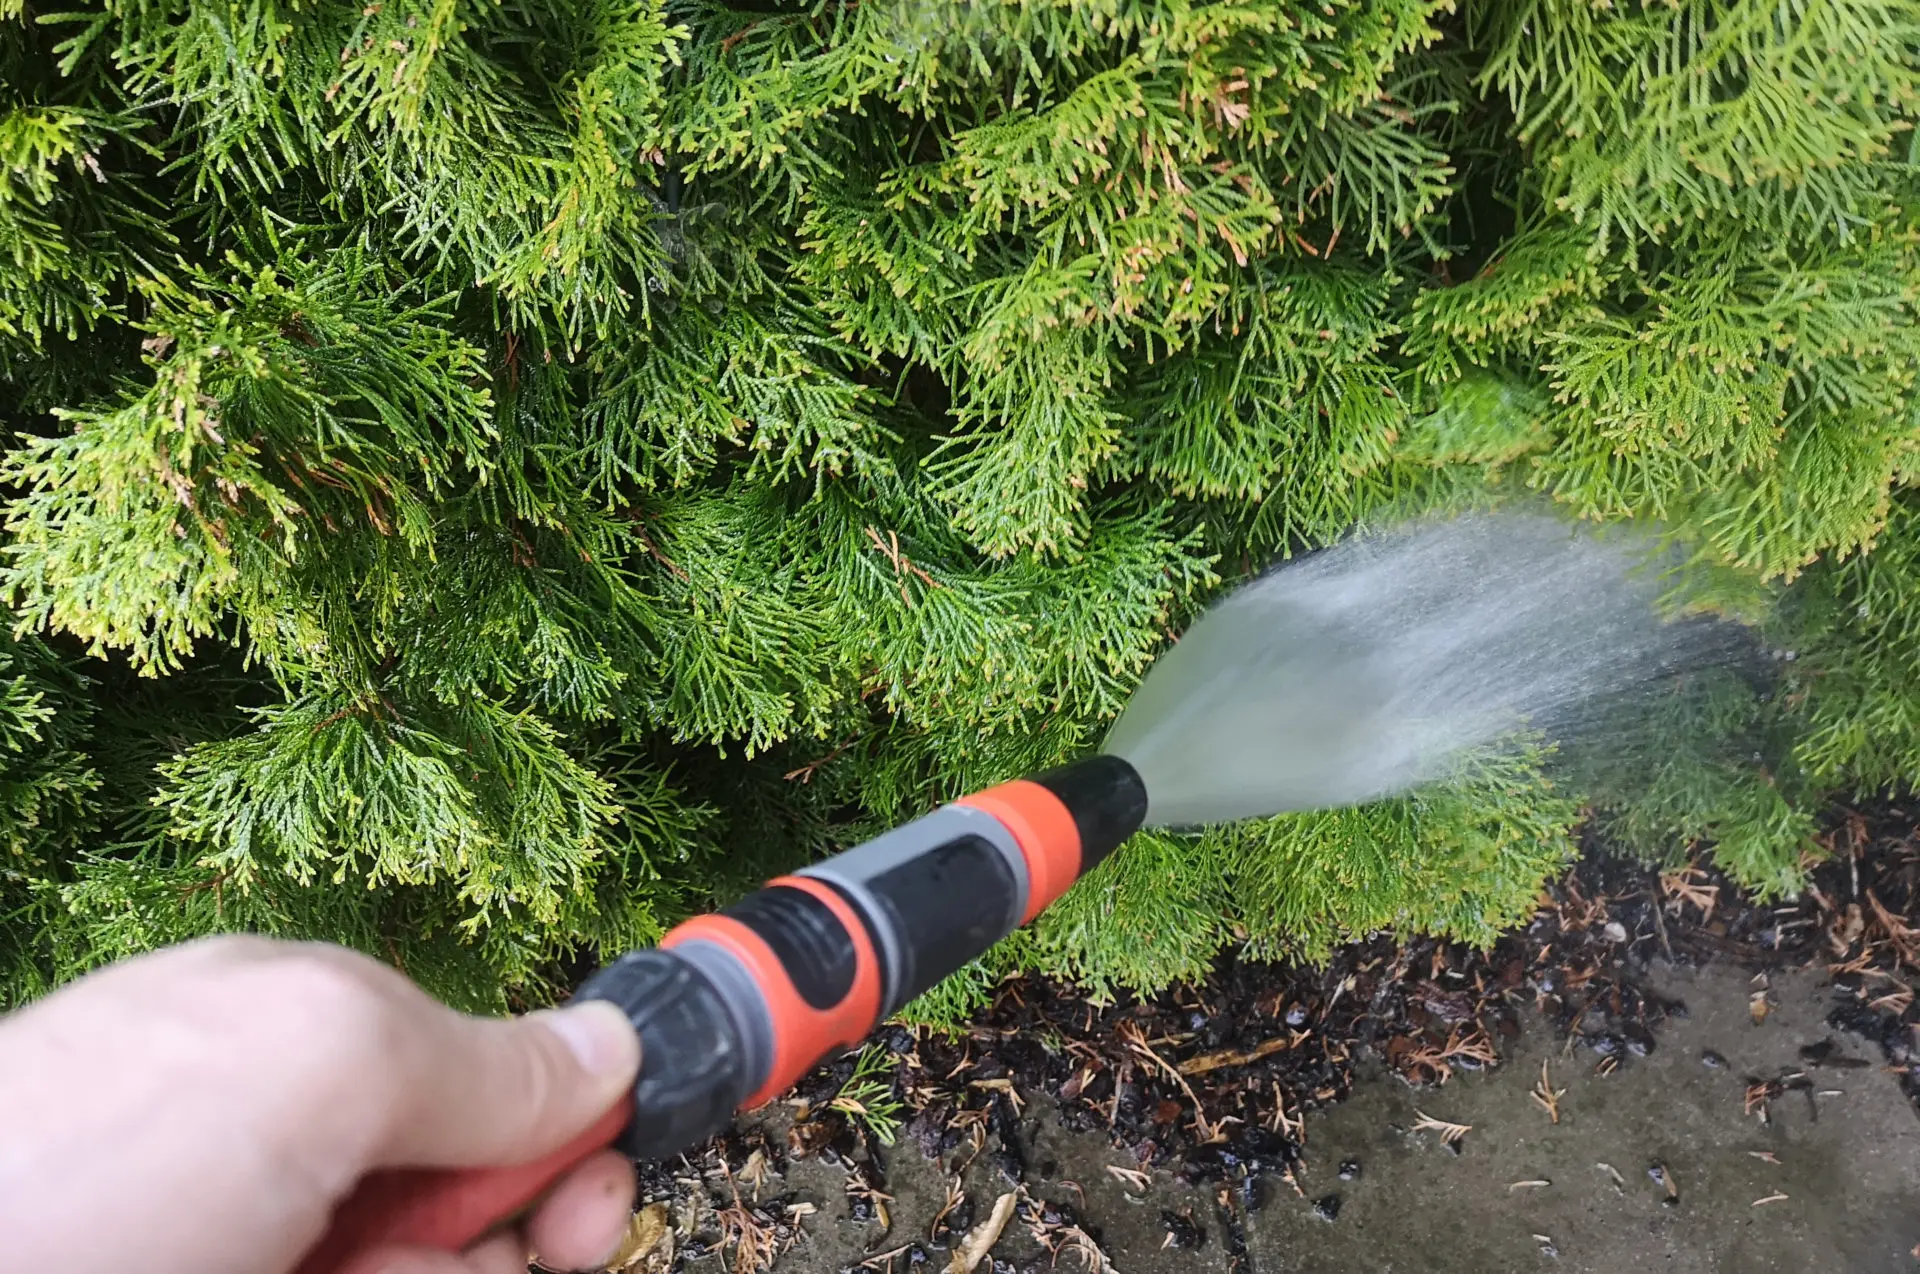
In theory, you can easily water a hedge with a watering can, but since a single plant needs about 1 gallon of water per foot (10 liters per meter) of growth, you will soon reach your limits even with shorter hedges, or you will increasingly lose interest in such a chore. In the long term, the minimum option is watering with a watering hose. Since under average conditions about 4 gallons (15 liters) of water per minute come out of a 1/2 inch hose, this roughly takes about 7 minutes for every 10 feet (3 meters) of hedge length.
When watering with a hose, you can calculate that it will take about 1 minute per hedge plant, and more for tall hedges.
If you want to use an automatic irrigation system instead, there are basically two options:
The usual and best way is to irrigate using a drip hose
In principle, it is also possible to water the lawn with sprinklers as part of the lawn irrigation
The second option, simply irrigating the hedge at the edge of a lawn as part of the lawn irrigation, is, in my experience, definitely feasible in practice and works to a certain extent. The water jet from the sprinkler simply sprays into the hedge and the water runs down the plant.
However, watering in this way has disadvantages compared to separate irrigation with a drip hose: You are dependent on the lawn irrigation in terms of the rhythm and duration of the irrigation and therefore cannot respond to the needs of the hedge in detail.
And this irrigation is also less economical than drip irrigation, as the water is not released slowly and close to the ground and therefore a larger part evaporates. Finally, it is generally recommended to water the trunk rather than the leaves, as this protects the more sensitive parts of a plant and some plants are prone to fungal infections when their leaves are wet. This is especially true if you water in the evening and the leaves do not dry out before nightfall.
This is how irrigation with a drip hose works
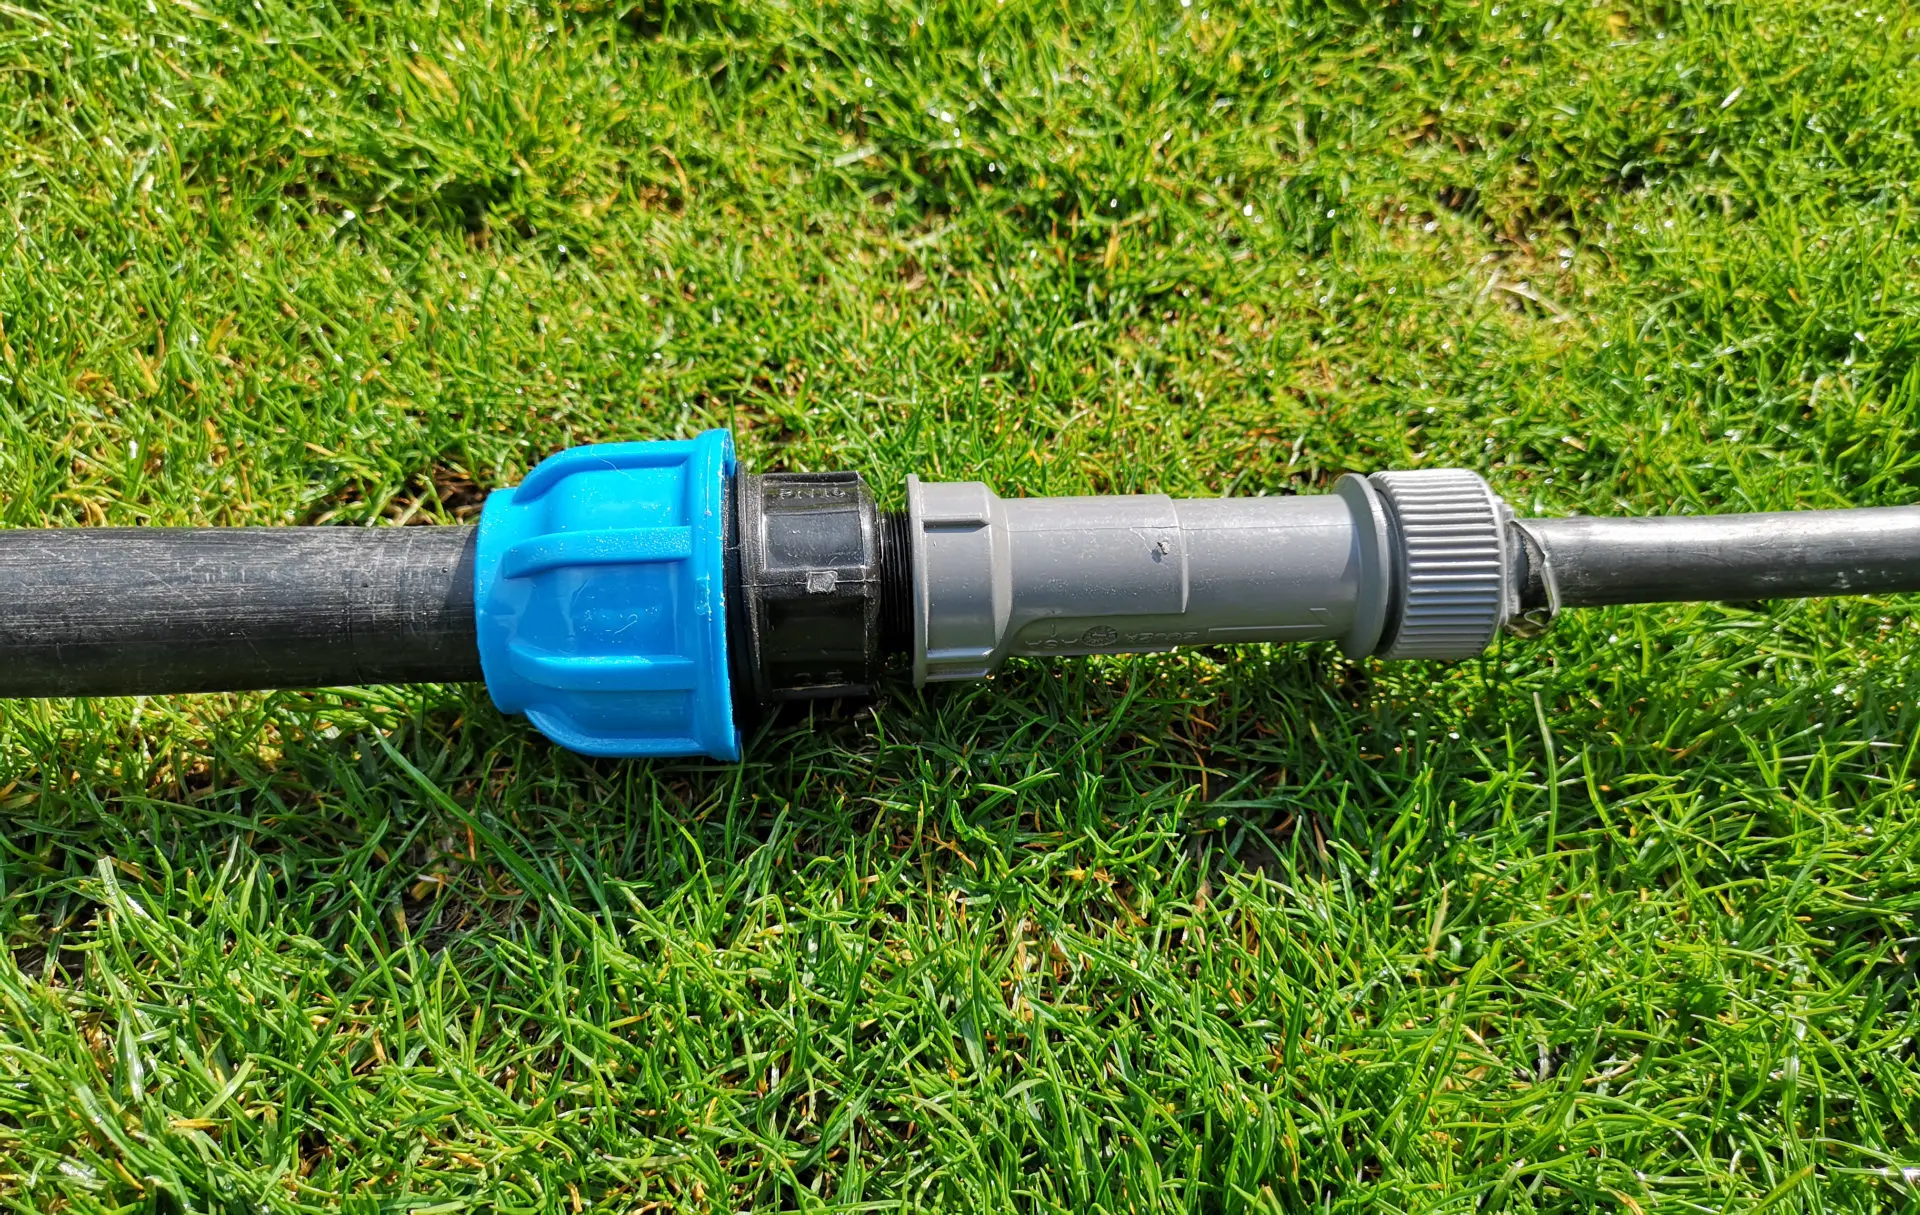
Irrigation with a drip hose is part of micro-irrigation, i.e. irrigation with low water pressure and small amounts of water. In contrast to normal irrigation, which is used when watering a lawn, the water pressure in micro-irrigation must be reduced to a comparatively low level of 20 to 30 psi (1.4 to 2.1 bar). This is done by placing a pressure reducer in front of the micro-irrigation.
Tip: I would always place the pressure reducer directly before the start of the micro-irrigation, i.e. before the drip hose begins. Because if you place it right at the start of the system, for example directly after the tap from which you get the water, and then have to bridge a few feet (meters) to the drip hose, you will have a further considerable pressure loss along this stretch due to friction and it could be that there is not enough pressure at the end.
I would also recommend running the water to the pressure reducer via at least 3/4 inch pipeline pipes. These have relatively little pressure loss and so you lose little pressure and water volume up to the start point of the micro-irrigation. This is especially important if you are planning a more extensive micro-irrigation. Only after the pressure reducer is the pipeline then continued with the 1/2 inch micro-irrigation pipeline pipes.
Example of a drip hose connection: On the left is the 3/4 inch pipeline pipe, in the middle is the pressure reducer from which the 1/2 inch drip hose leads
A 1/2 inch drip hose up to 100 feet (30 meters) long can be connected to the pressure reducer. If you need more than 100 feet (30 meters), you can get around this by leading the drip hose away from the pressure reducer in two directions rather than one. This means that 100 feet (30 meters) in each direction, or a total of 200 feet (60 meters), are possible. Another option is to connect not one but two pressure reducers to the 3/4 inch pipeline and then lead a drip hose away from each of them.
The limiting factor is the amount of water available at the water extraction point. If this is not large enough for a long hedge to supply all the planned drip hoses with water at the same time, then the irrigation must be divided into sectors. I explain how this works in the Planning section of the website.
The connection to the water supply, i.e. to a tap or a pump, and the optional control using an irrigation computer is carried out in the same way as with normal irrigation. I will explain what options you have here under the menu item Controlling. It is easily possible to water the lawn and the hedge with a common water source and common control.
What type of drip hose do you need?
You can use either drip hoses or pearl hoses. The difference is that with drip hoses, the water is released at specific points on the hose via individual drippers or emitters, whereas with pearl hoses, the water is released evenly over the entire surface of the hose. Both can be used without any problem, but which one you choose is a matter of taste, with drip hoses being used more frequently. In sales offers, the terms are often used incorrectly or confused, so that drip hoses are also offered as pearl hoses and vice versa.
The drip hoses offered usually have a dimension of 1/2 inch. The term drip hose is somewhat misleading, because they are actually mostly quite hard and only partially flexible PE pipes, so sharp corners are not possible.
Drip hoses are sold by irrigation companies such as Rain Bird or Gardena, but you can also use normal PE pipe from the hardware store, as that is exactly what the drip hoses on offer are. The PE pipes from the hardware store are usually a lot cheaper!
Micro irrigation 1/2 inch pipes on Amazon:
Table could not be displayed.
Use ready-made drip hoses or install the drippers yourself?
You can buy PE pipes and then screw in the drippers yourself, or alternatively, ready-made drip hoses are sold in which the drippers or emitters are already incorporated. With the second type, you have less work and the certainty that all outlet points are cleanly installed. If you have to water a hedge in which the plants are at regular intervals and in which the same amount of water is needed over the entire length of the hedge, this is a good alternative.
The XFD drip hose from Rain Bird enjoys a very good reputation here. Depending on the model, the drippers are installed at intervals of 1 foot (30 cm) or more and you can choose between a drip output of 0.4 gallons per hour and 0.6 gallons per hour (1.5 and 2 liters per hour). The drippers are pressure-regulated. The drip hose can be bought in lengths of 80, 160 or 320 feet (25, 50 or 100 meters).
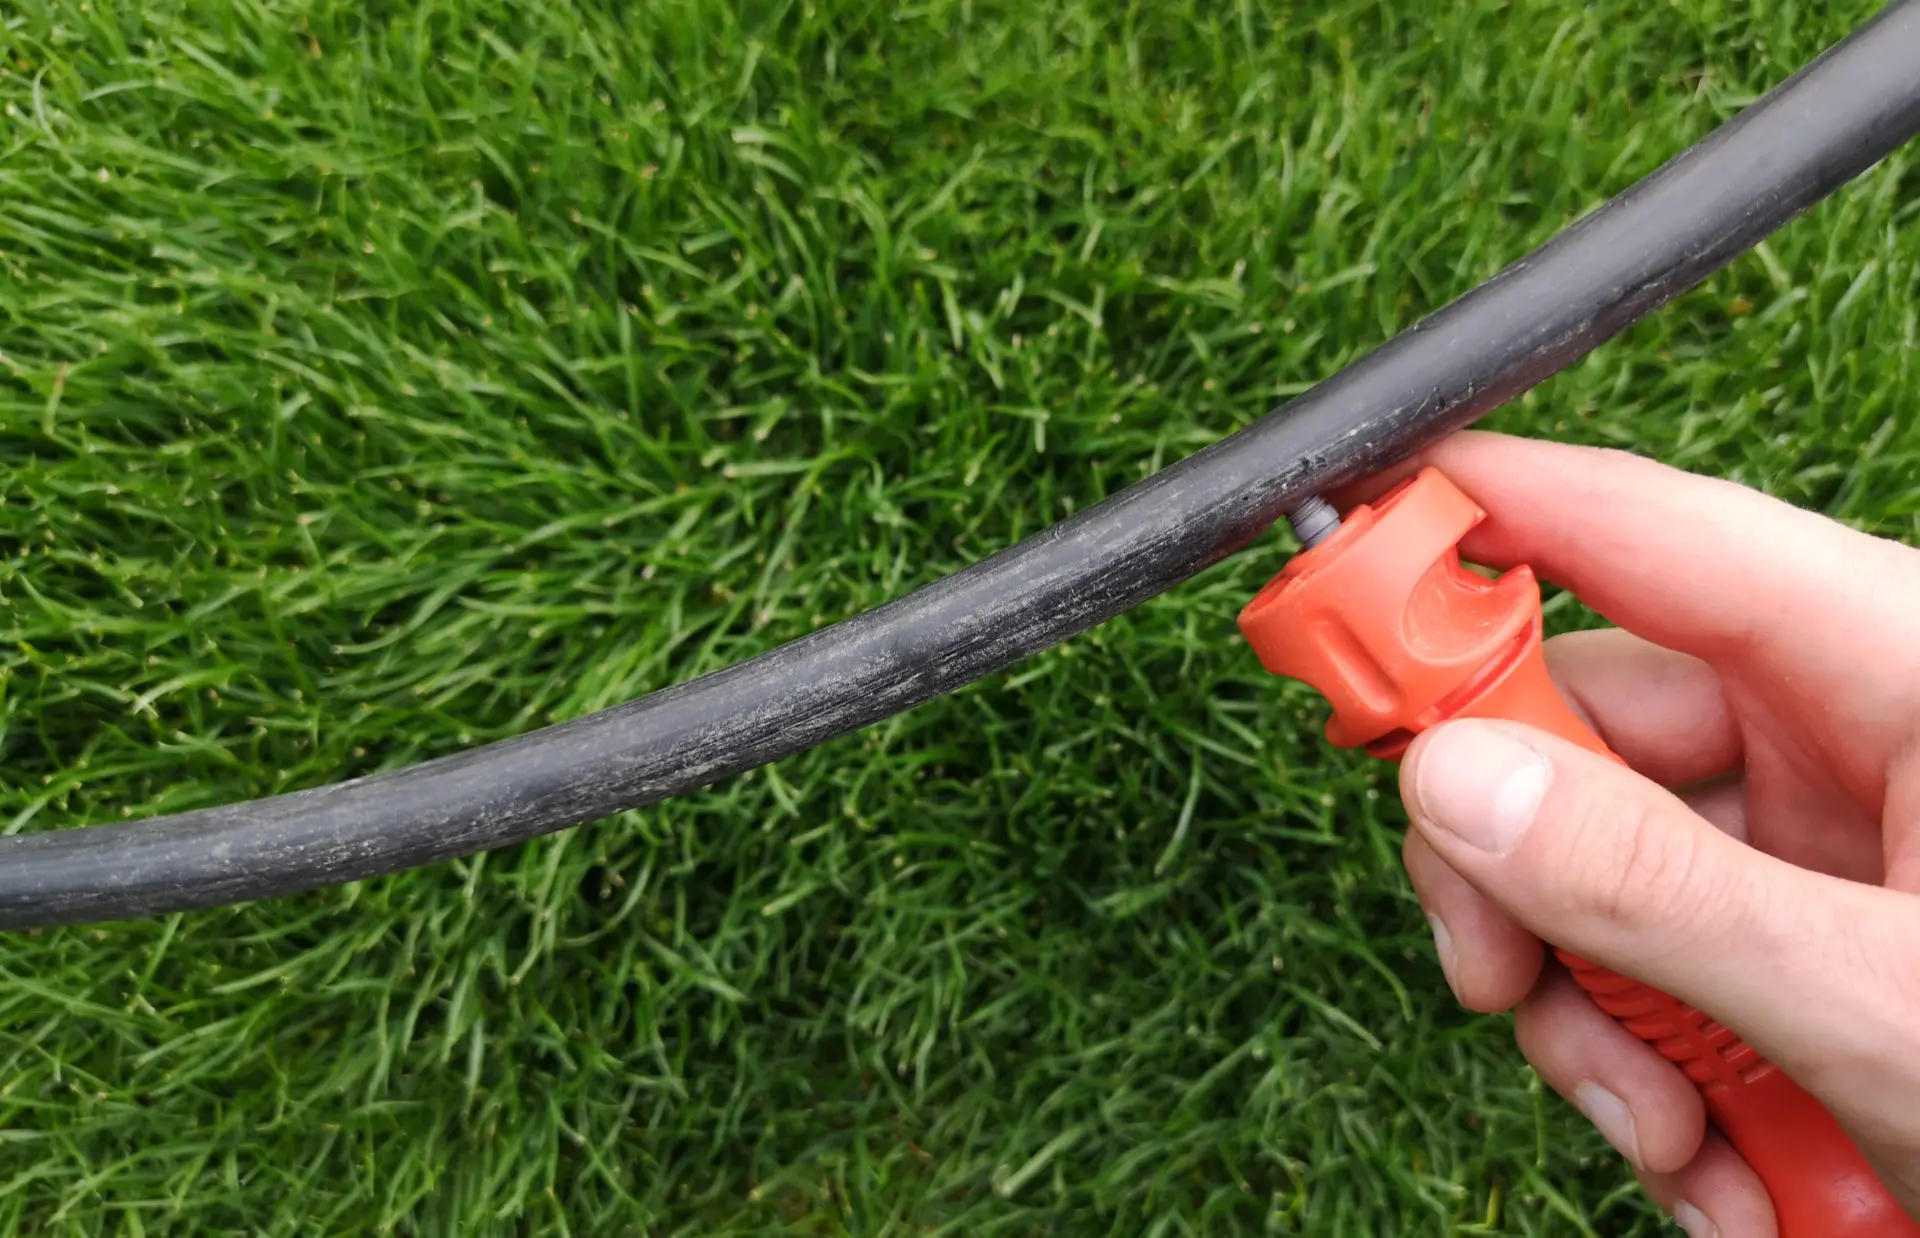
Special assembly tools are available for screwing the drippers into the drip pipe (shown here is the one from Gardena)
Rain Bird XFD drip hose with built-in emitters on Amazon:
Table could not be displayed.
On the other hand, fitting a PE pipe without built-in outlets with drippers yourself has the advantage that you are more flexible and can vary the distance between the individual drippers as you wish. In addition, if necessary, you can also screw in drippers with different gallon or liter capacities, so that some plants receive more water and others less.
Above-ground or underground drip hoses?
Drip hoses are normally laid above ground and are not intended to be covered with soil, as the drippers will then no longer be able to work properly. The drip hoses presented above are all laid above ground. However, there are also a few systems on the market that can be laid underground. These always have the emitters already integrated. It is not advisable to assemble such an underground drip hose yourself, as a certain type of fabrication is required for the drippers to work correctly in practice. These must be self-closing to prevent contamination from the outside after the irrigation process has ended and must also contain metal plates or other protective devices to prevent roots from growing in.
Two well-known suppliers here are Gardena (underground drip hose 1389-20) and again Rain Bird with its XFS system. As a premium solution that is even higher than the Rain Bird system, there are also drip pipes from the micro-irrigation market leader Netafim (Netafim Unitechline).
The underground drip hoses are more expensive than those that are laid above ground. They can be laid not only under hedges, but theoretically also under a lawn for lawn irrigation. However, I would think very carefully about using them, because an underground system also has disadvantages: Unlike with above-ground use, there is no way of checking that it is working properly and, if necessary, intervening by cleaning or replacing a dripper. If a dripper is not working in one place or another, you would only notice it when a plant shows damage due to insufficient watering. And in such a case, you would have to dig up a lot of ground to fix the problem or replace the drip hose.
In my opinion, underground hoses only make sense if you have to water places that are walked on very often and therefore cannot be watered conventionally from above. If it is purely a matter of appearance, then pipes laid above ground in hedges are usually not visible at first glance and if you want it to look perfect, you can also help yourself by covering the pipes lightly with bark mulch. In my experience, this has no negative impact on their functionality.
Which drippers should you use?
There are a wide variety of different drippers available on the market. The most important distinguishing criterion for drippers is the gallon or liter output per hour. Depending on this, the drippers release more or less water per hour. Drippers with a low gallon or liter output of 0.5 or 1 gallon (2 or 4 liters) per hour have the advantage that the hedge is watered slowly and continuously, giving the plant enough time to absorb the water and little water running past the plant. The longer irrigation time this entails is usually not a problem in practice.
However, using drippers with a slightly higher gallon or liter output can be necessary or useful if only a very small part of the garden is watered with micro-irrigation and therefore only a few gallons or liters of water are used per hour. This low flow can be a problem for the pump used, which then switches on and off frequently, and can also lead to solenoid valves and irrigation computers not functioning properly. To solve such a problem, you can either use drippers with a higher liter output or, alternatively, have the micro-irrigation irrigate at the same time as another irrigation sector and thus increase the flow rate, e.g. at the same time as part of the lawn. Or, as a third option, you can use special pumps, solenoid valves and irrigation computers that can also cope with very small flow rates.
As an alternative to drippers with a fixed gallon or liter output, drippers are also offered whose gallon or liter output can be adjusted directly on the dripper within a certain range.
Pressure-regulated or not pressure-regulated
A second important criterion is pressure regulation. Pressure-regulating drippers reliably deliver the same amount of water over the entire length of the drip hose. If the drippers are not pressure-regulated, it may happen that they nominally have the same output, e.g. 0.5 gallons (2 liters) per hour, but in reality the first dripper in the row, where the highest pressure is still present, delivers significantly more water than the last dripper, where the pressure has already been reduced due to friction in the pipe. This is even more true if there is a difference in height. Pressure-regulating drippers regulate the pressure in the dripper down to a predetermined pressure so that the pressure is the same at each dripper and thus the gallon or liter output is the same.
The distance between the drippers should normally be 12 to 16 inches (30 to 40 cm), more 12 inches (30 cm) in sandy soil and more 16 inches (40 cm) in clay soil, where the water seeps into the soil less quickly. So, as a rough estimate, you will need about 1 dripper per foot (30 cm).
Alternatively, can you make the drip openings yourself?
To do without drippers altogether and instead simply make holes in the pipe yourself is not a good idea in practice, because the water will then come out of the opening hole in a very uncontrolled and splashing manner and the openings will almost certainly be very irregular, so that the plants will not be supplied with water evenly. Since the drippers are not that expensive, this would also make little sense from a financial point of view.
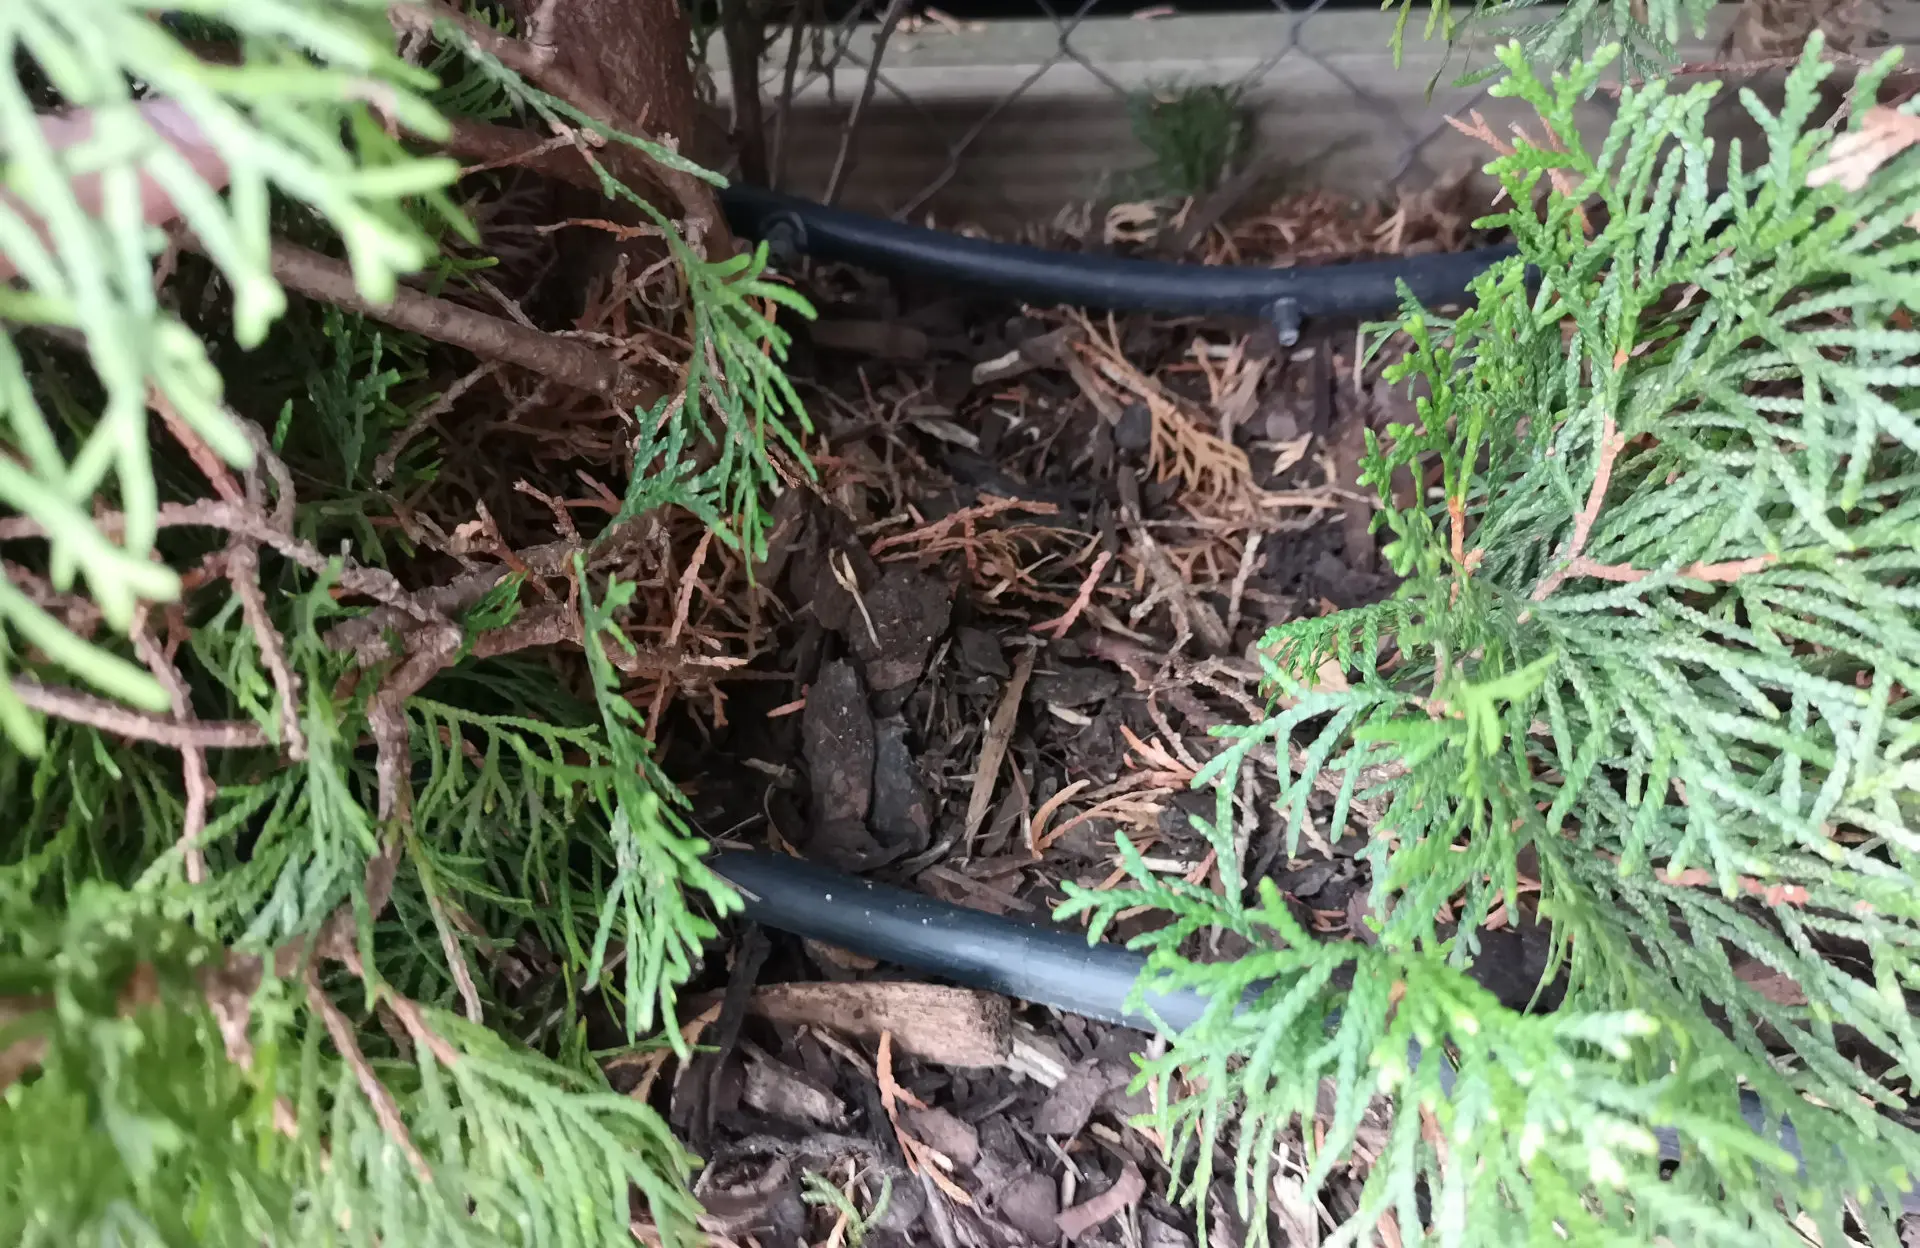
How do you lay the drip hose?
The drip hose is laid along the trunks of the hedge plants. If you want to make it as invisible as possible, then it is best to do it behind the trunks. In practice, however, it is even better to run the hose once in front of the trunks and then again behind the trunks, because since the drippers release the water very close to the ground and it does not spread out too much, the root area on one side will otherwise be less well supplied with water than that on the other side. With drip hoses on both sides, you can achieve the most even watering possible.
Ideally, the drip hose should be placed in front of and behind the trunk of the hedge
It is recommended to spread bark mulch on the base of the hedge plants, as this helps to store the water for longer. If you want to make the drip hose as completely invisible as possible, you can also cover it loosely with bark mulch.
If the terrain is sloping and the ground is very sandy, you can build a small watering wall around the hedge, about 2 to 4 inches (5 to 10 cm) high. This ensures that the water does not wash away when watering.
How much water does the hedge need?
Of course, this always depends on the temperature, how sunny the location of the hedge is, the soil conditions, and what type of hedge plant it is and how big it is. As a rule of thumb, you can calculate 1 gallon of water per foot (10 liters per meter) of height per hedge plant. A 7-foot-(2 meter) high hedge would therefore need 7 gallons (20 liters) of water per plant.
In principle, it makes sense to water less often but in larger quantities, just like when watering the lawn. This means that the soil is properly moistened to a greater depth and the roots of the plants are encouraged to grow deeper. This makes the plants more robust and resilient. If, for example, you were to water only briefly every day so that only a narrow layer of soil was moistened, the water would never reach the roots at greater depths and they would wither.
The best way to find out whether the amount of water you have poured is correct or not is the spade test. The watered soil is poked with a spade one day after watering. If the soil is moist to a depth of 10 to 12 inches (25 to 30 cm), then the amount of water is correct. If the soil is not moist enough, then you need to water more; if it is really wet and muddy, then you have overdone the amount of water and should reduce it. Excessive watering and the resulting waterlogging can also damage the plant!
How often should you water the hedge?
There are sometimes very different and contradictory opinions on this topic. The recommendations range from daily watering, to twice a week and weekly, to every 3 weeks.
How well a hedge can withstand longer periods of drought depends in principle on whether it is a shallow-rooted hedge species such as thuja, boxwood, red beech, cotoneaster, false cypress or barberry, or a deep-rooted hedge species such as hornbeam, yew or cherry laurel. The deep-rooted species can also withstand longer periods of water without permanent damage, as their roots reach deep into the soil and can therefore reach deeper water supplies. Shallow-rooted plants, on the other hand, can only get moisture from the top layer of soil and are therefore far less tolerant of longer periods of drought.
In my experience, watering hedges every 1 to 2 weeks with a good moistening of the soil – as described above – works very well. Only in extremely hot weeks with consecutive days with temperatures over 90 degrees Fahrenheit (30 °C) do I make an exception and water up to twice a week with a slightly smaller amount of water.
Newly planted hedges are exempt from this rule: In the first few months until the hedge plants have properly established roots, they should be watered at least twice a week.
In the winter months, the hedge needs less water, but the water requirement is not zero. This is especially true for evergreen species, where water evaporates through the leaves and needles even in winter. Therefore, you should water them properly before winter sets in. In winter, watering is not necessary in principle, but if there are very long dry periods with several weeks without rain or snow, you should take advantage of frost-free days and water them. Because winters with long dry periods often lead to dead or badly damaged hedge plants. This is often mistakenly thought to be frost damage, but in reality the plant has died of thirst.
As is recommended for the lawn, the hedge is best watered in the morning. At this time, evaporation is not yet so high and the plant has the whole day to dry before nightfall (risk of fungal attack).
I am an enthusiastic do-it-yourselfer and have been running this blog on the subject of garden irrigation for more than 6 years now. In over 150 specialist articles, I share my own experiences and know-how from years of research and numerous product tests. -> More about me